


 Menu
MenuMenu


Get Sales Advice from Mon - Fri 9am - 5:00pm:
020 3337 8950POSTED: July 27, 2026
How to Take Out and Replace a Graphics Card Safely: Full Guide
Knowing how to take graphics card out safely matters if you are upgrading to a faster GPU, troubleshooting display issues, cleaning your PC or moving parts into a new case. The process is simple, but the PCIe retention latch, power cable, expansion-slot screws and large GPU coolers can make removal feel awkward the first time.
This guide shows you what to do before removing a graphics card, how to detach the GPU power cable, remove the GPU from the PCIe slot, fit a new graphics card, reconnect everything and handle driver changes afterwards. It also covers NVIDIA cards, Gigabyte motherboards, ROG Strix-style latch designs, Lenovo desktop PCs, laptop GPU limits and common removal problems.
What to Do Before Removing a Graphics Card
Before you remove graphics card hardware, prepare the PC and workspace properly. Most GPU damage happens because users pull at the card while a screw, power cable or PCIe retention latch is still holding it in place.
Do this first:
- Shut down Windows fully.
- Turn off the power supply switch.
- Unplug the power cable.
- Press the power button for a few seconds to discharge leftover power.
- Remove any display cables from the GPU.
- Move the PC to a stable desk or table.
- Remove the side panel.
- Touch a metal part of the case or use an anti-static wrist strap.
- Take a photo of the current cable layout before unplugging anything.
Avoid working on carpet if possible. Electrostatic discharge can damage PC components, especially if you handle the motherboard or graphics card carelessly.
If you are not sure how the GPU connects to the motherboard, read our guide to understand internal PC connections before starting.
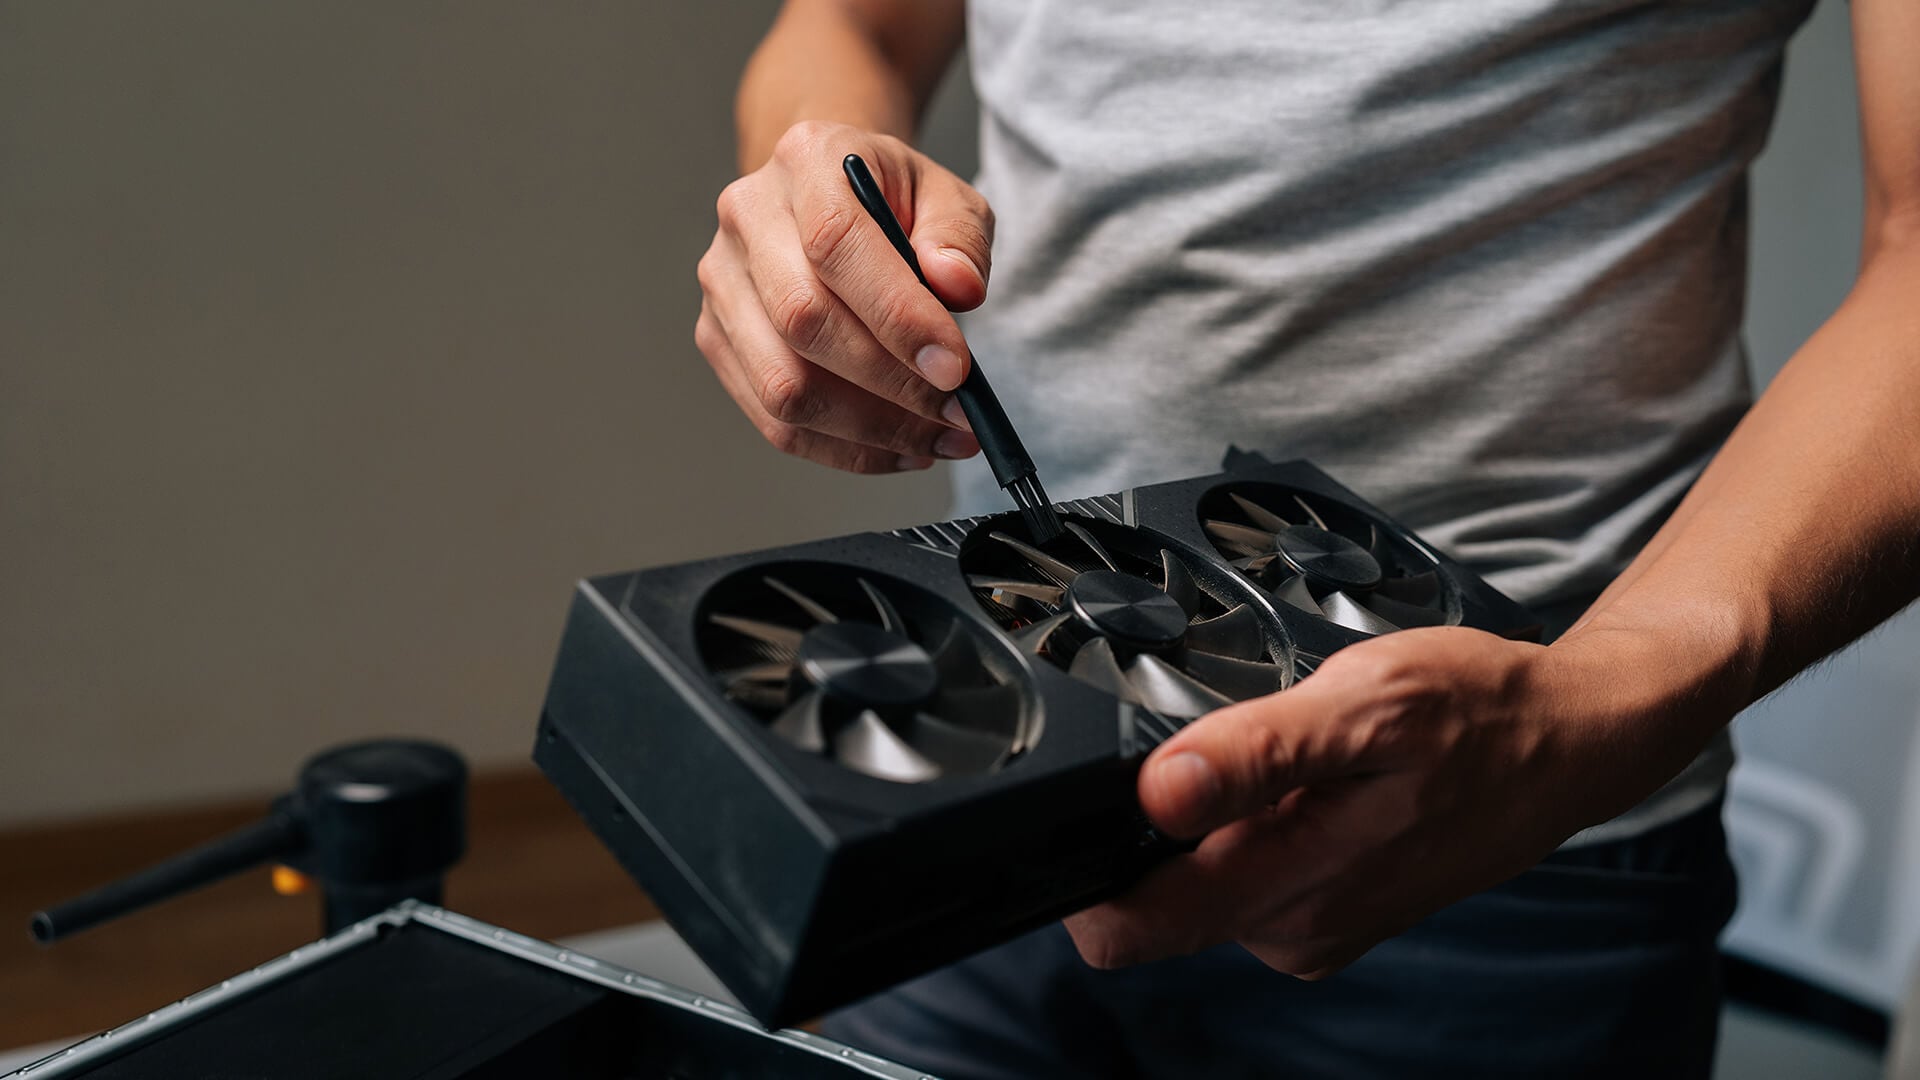
Tools You Need for GPU Removal
You usually only need a few simple tools for GPU removal:
- Phillips screwdriver
- Anti-static wrist strap, optional but useful
- Torch or phone light
- Small tray for screws
- Soft anti-static bag or original GPU box
- Clean workspace
- Cable ties for tidying power cables after installation
Do not use metal tools to force the PCIe latch. If the graphics card is stuck in the PCIe slot, check screws, support brackets and power cables before applying more force.
How to Remove a GPU from a Desktop PC
This is the standard method for removing a GPU from most desktop PCs.
1. Disconnect the GPU Power Cable
Most dedicated graphics cards use one or more GPU power connectors. These may be 6-pin, 8-pin, 12VHPWR or 12V-2x6 depending on the card.
To safely disconnect GPU power cable connections:
-
- Hold the connector, not the wire.
- Press the small clip on the connector.
- Pull the connector straight out.
- Do not twist or yank it sideways.
If the connector is tight, press the latch again and gently rock the plug in line with the socket. Do not pull on the cable itself.
2. Remove the Expansion-Slot Screws
The graphics card is usually fixed to the rear of the case with one or two expansion-slot screws.
Remove these screws and keep them safe. Some larger cards also use a graphics card support bracket. Remove or loosen the bracket before pulling the GPU out.
3. Remove GPU from PCIe Slot
To remove GPU from PCIe slot safely:
-
- Find the PCIe retention latch at the end of the PCIe x16 slot.
- Press or release the latch depending on your motherboard design.
- Hold the graphics card by its edges or cooler shroud.
- Pull the card straight out of the slot.
- Avoid bending the motherboard or tilting the card sharply.
This is also the answer to how to take out GPU from motherboard: release everything holding it first, then remove it in a straight, controlled motion.
Why Is My Graphics Card Stuck?
A graphics card stuck in PCIe slot usually means something is still locked.
Common causes:
- PCIe retention latch still engaged
- Expansion-slot screws still installed
- GPU support bracket still attached
- Power cable still connected
- Card is pressed against case metal
- Large cooler is blocking your hand
- Latch is hidden under the GPU
- Motherboard has a special release button
Do not force it. Check each holding point again.
If the GPU latch is difficult to reach, use your finger carefully from the side. Do not jab the motherboard with a screwdriver, as this can damage traces or components.
How to Remove Graphics Card NVIDIA
The process for removing an NVIDIA graphics card is the same as most desktop GPUs, but watch the power connector.
Some NVIDIA cards use 8-pin PCIe power. Others use a 16-pin connector or adapter. Before removal:
- Shut down and unplug the PC.
- Disconnect display cables.
- Press the power connector latch.
- Pull the connector straight out.
- Remove expansion-slot screws.
- Release the PCIe latch.
- Lift the card straight from the slot.
When installing a replacement NVIDIA card, use the correct power cable or adapter supplied with the GPU or recommended by the card maker. Make sure the connector is fully seated before powering on.
You can explore NVIDIA GPU options at Box if you are replacing an older NVIDIA graphics card with a newer model.
How to Remove GPU from Gigabyte Motherboard
To remove GPU from Gigabyte motherboard systems, the process depends on the board design.
Most Gigabyte boards use a standard PCIe retention latch. Some newer or higher-end boards may include an easier release mechanism, but the exact design varies.
Use this approach:
- Remove the GPU power cable.
- Remove the rear expansion screws.
- Check whether the board has a normal latch or release button.
- Press the latch fully before pulling the GPU.
- Pull the card straight out.
- Check the motherboard manual if the latch is hidden.
If the card is large, removing the front case panel or moving nearby cables can give you more room.
How to Remove Graphics Card from ROG STRIX
To remove graphics card from ROG STRIX builds, check whether you mean a ROG Strix graphics card or a ROG Strix motherboard.
A ROG Strix graphics card removes like any large GPU: unplug power, remove screws, release the PCIe latch and pull straight out.
Some ASUS ROG Strix motherboards include Q-Release or Q-Release Slim features that make releasing the GPU easier. If your board has this, use the motherboard’s release button or mechanism instead of trying to press a hidden latch under the card.
Because designs vary by model, check the manual before forcing anything.
How to Remove Graphics Card from Lenovo PC
To remove graphics card from Lenovo PC desktops, the steps are similar, but prebuilt cases may use different brackets or tool-less clips.
Follow this order:
- Shut down and unplug the Lenovo desktop.
- Remove the side panel.
- Disconnect display and power cables.
- Remove any retaining bracket or clip.
- Remove the expansion-slot screw.
- Press the PCIe latch.
- Pull the GPU straight out.
Some Lenovo office PCs use low-profile cards, custom brackets or compact cases. Check the case size and power supply before buying a replacement GPU.
If the PC is still under warranty or uses a compact proprietary layout, confirm upgrade support before opening it.
Can You Remove GPU from Laptop?
Most people wonder whether it is possible to remove GPU from laptop, but most laptop GPUs cannot be removed or upgraded like a desktop card.
Most laptops use:
- Integrated graphics built into the processor
- Soldered dedicated graphics chips
- Custom cooling systems
- Model-specific motherboard layouts
That means a typical laptop graphics card upgrade is not realistic. You usually cannot take the GPU out and install a new one.
Possible exceptions are rare:
- Older MXM-based gaming laptops
- Some specialist workstation laptops
- External GPU setups through Thunderbolt or USB4, where supported
For most users, if the laptop GPU is too weak, the practical options are lowering game settings, using an external GPU where compatible, or replacing the laptop.
Remove GPU Fan or Replace GPU Fan
Removing GPU fan is different from removing the graphics card from the PC. It means taking apart the graphics card cooler, which is more advanced and can affect warranty.
A GPU fan replacement may be needed if:
- The fan rattles
- The fan does not spin
- Temperatures are very high
- The fan blades are damaged
- The card overheats even after cleaning
Before replacing a GPU fan:
- Check the warranty
- Confirm the exact fan model
- Photograph cable routing
- Avoid damaging fan headers
- Clean dust first
- Check whether the issue is fan curve software
Do not remove the cooler unless you are comfortable with thermal pads, thermal paste and delicate fan cables. For many users, a warranty claim or professional repair is safer.
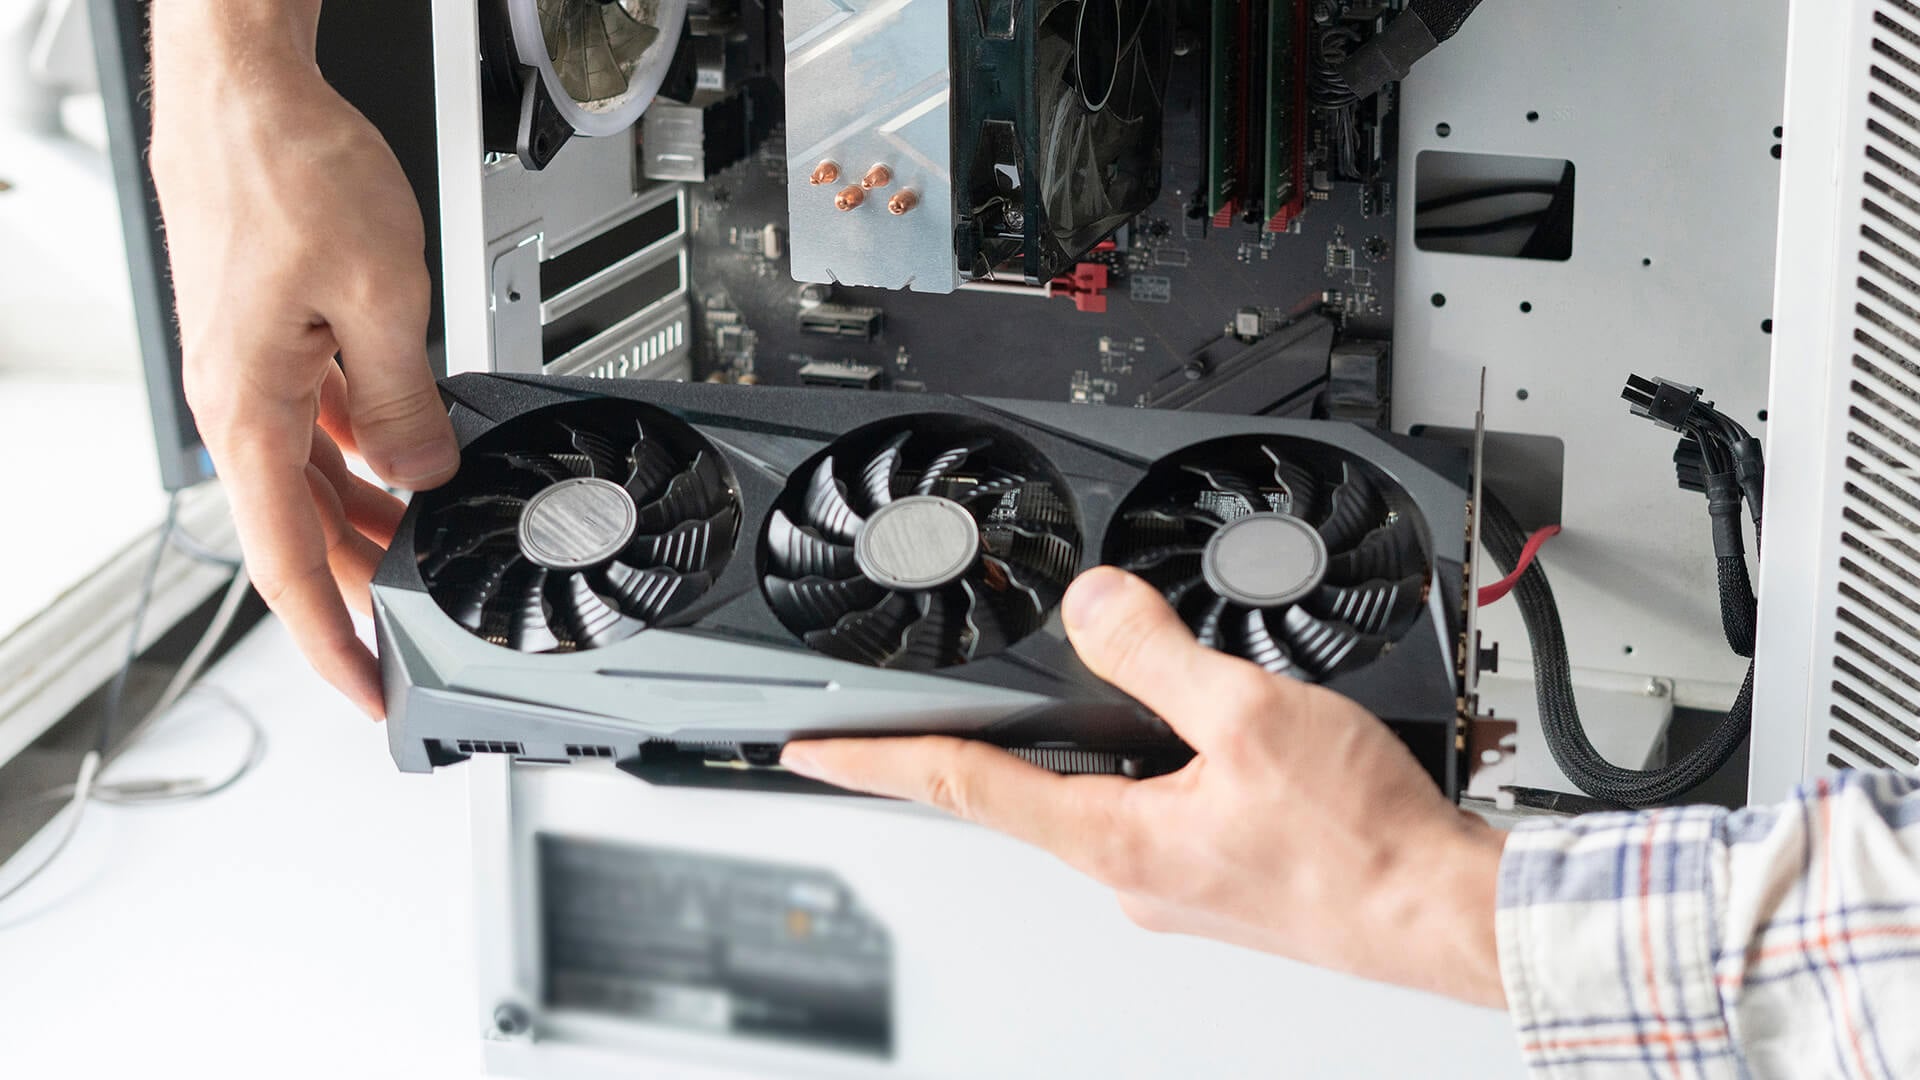
How to Fit a Graphics Card
Once the old card is out, the next step is how to fit a graphics card correctly.
1. Check Compatibility First
Before installing, check:
-
- Case GPU clearance
- Power supply wattage
- Power connector type
- Motherboard PCIe x16 slot
- CPU bottleneck risk
- Monitor ports
- Driver support
- Physical card thickness
- Airflow space
If the new GPU is much larger than the old one, you may need to find a GPU-ready PC case with better clearance and airflow.
For power, check compatible PC power supplies before fitting a high-power card.
2. Insert the New GPU
To install graphics card hardware:
-
- Remove the matching rear slot covers if needed.
- Line the GPU connector with the PCIe x16 slot.
- Push the card down evenly until it clicks into place.
- Make sure the rear bracket lines up with the case.
- Reinstall expansion-slot screws.
- Connect GPU power cables.
- Refit any support bracket.
- Connect your monitor to the GPU, not the motherboard.
- Close the case after testing.
Do not leave a heavy GPU unsupported if it sags badly. Use a support bracket if needed.
How Do I Install a New Graphics Card?
For people installing a new graphics card, the physical install is only half the job. You also need to handle drivers and display settings.
After installation:
-
- Plug the monitor into the new GPU.
- Reconnect the power cable.
- Turn on the PSU.
- Start the PC.
- Wait for Windows to detect the card.
- Install the latest NVIDIA or AMD driver.
- Restart the PC.
- Set the correct resolution and refresh rate.
- Test a game or benchmark.
- Check temperatures and fan noise.
If there is no display, shut down and check the power cable, GPU seating, monitor cable and input source.
Should You Remove Old Graphics Drivers First?
You do not always need to uninstall graphics drivers before you change graphics card hardware.
Use this rule:
- Same brand upgrade: usually install the latest driver after the swap.
- NVIDIA to AMD or AMD to NVIDIA: uninstall old driver software first or clean up after installation if issues appear.
- Old unstable system: consider a clean driver install.
- No display after swap: check hardware first, then drivers.
Avoid using aggressive driver cleaner tools unless you understand what they remove. Many users can simply uninstall the old graphics software through Windows Apps settings and install the new driver from the GPU maker.
How to Replace Graphics Card: Full Safe Order
Here is the clean how to replace graphics card order:
- Check new GPU compatibility.
- Download the new driver if needed.
- Back up important files.
- Shut down the PC.
- Unplug the power cable.
- Remove the side panel.
- Disconnect the old GPU power cable.
- Remove expansion-slot screws.
- Release the PCIe retention latch.
- Remove the old GPU.
- Store the graphics card safely.
- Insert the new GPU.
- Secure it with screws.
- Connect GPU power.
- Connect monitor to the GPU.
- Boot the PC.
- Install or update drivers.
- Test performance and temperatures.
If you are planning a bigger upgrade around a new graphics card, our guide to plan an RTX 5060 PC build can help with CPU, RAM, PSU and case balance.
How to Change GPU from Integrated to Dedicated
You do not physically remove integrated graphics. Integrated graphics are built into the CPU or system chip. To change GPU from integrated to dedicated, you usually change Windows or app settings.
In Windows 11:
- Open Settings.
- Go to System > Display > Graphics.
- Select the app or game.
- Choose Options.
- Select High performance.
- Save the setting.
- Restart the app.
On desktops, also make sure the display cable is plugged into the dedicated graphics card, not the motherboard video output.
In BIOS/UEFI, some systems let you choose primary display output. Only change BIOS settings if you know what the option does.
How to Detach Graphics Card Without Damage
The safest way to how to detach graphics card is to remove tension first.
Do not:
- Pull while the latch is locked
- Pull by the fans
- Bend the card sideways
- Yank the power cable
- Use force on the PCIe slot
- Touch exposed contacts
- Rest the GPU on carpet
- Stack items on top of the card
Do:
- Hold the card by the edges
- Keep it level
- Release the latch fully
- Store it in an anti-static bag
- Use the original box if available
- Keep screws with the card
- Support large cards with two hands
To store a graphics card safely, use an anti-static bag, then place it in a padded box away from heat, moisture and pressure.
Choosing a Replacement Graphics Card
Before buying, compare replacement graphics cards by more than raw speed.
Check:
- Resolution target
- VRAM
- Ray tracing needs
- Case clearance
- Power supply requirement
- Display outputs
- GPU length and thickness
- Cooling design
- Driver support
- Budget
- Games you actually play
NVIDIA cards are strong for DLSS, ray tracing and creator workflows. AMD cards can be strong for raster gaming performance and value depending on the model. You can also browse AMD graphics cards if you are comparing alternatives to NVIDIA.
If you are unsure whether the motherboard supports your new card, our guide to learn essential motherboard basics is a useful next read.
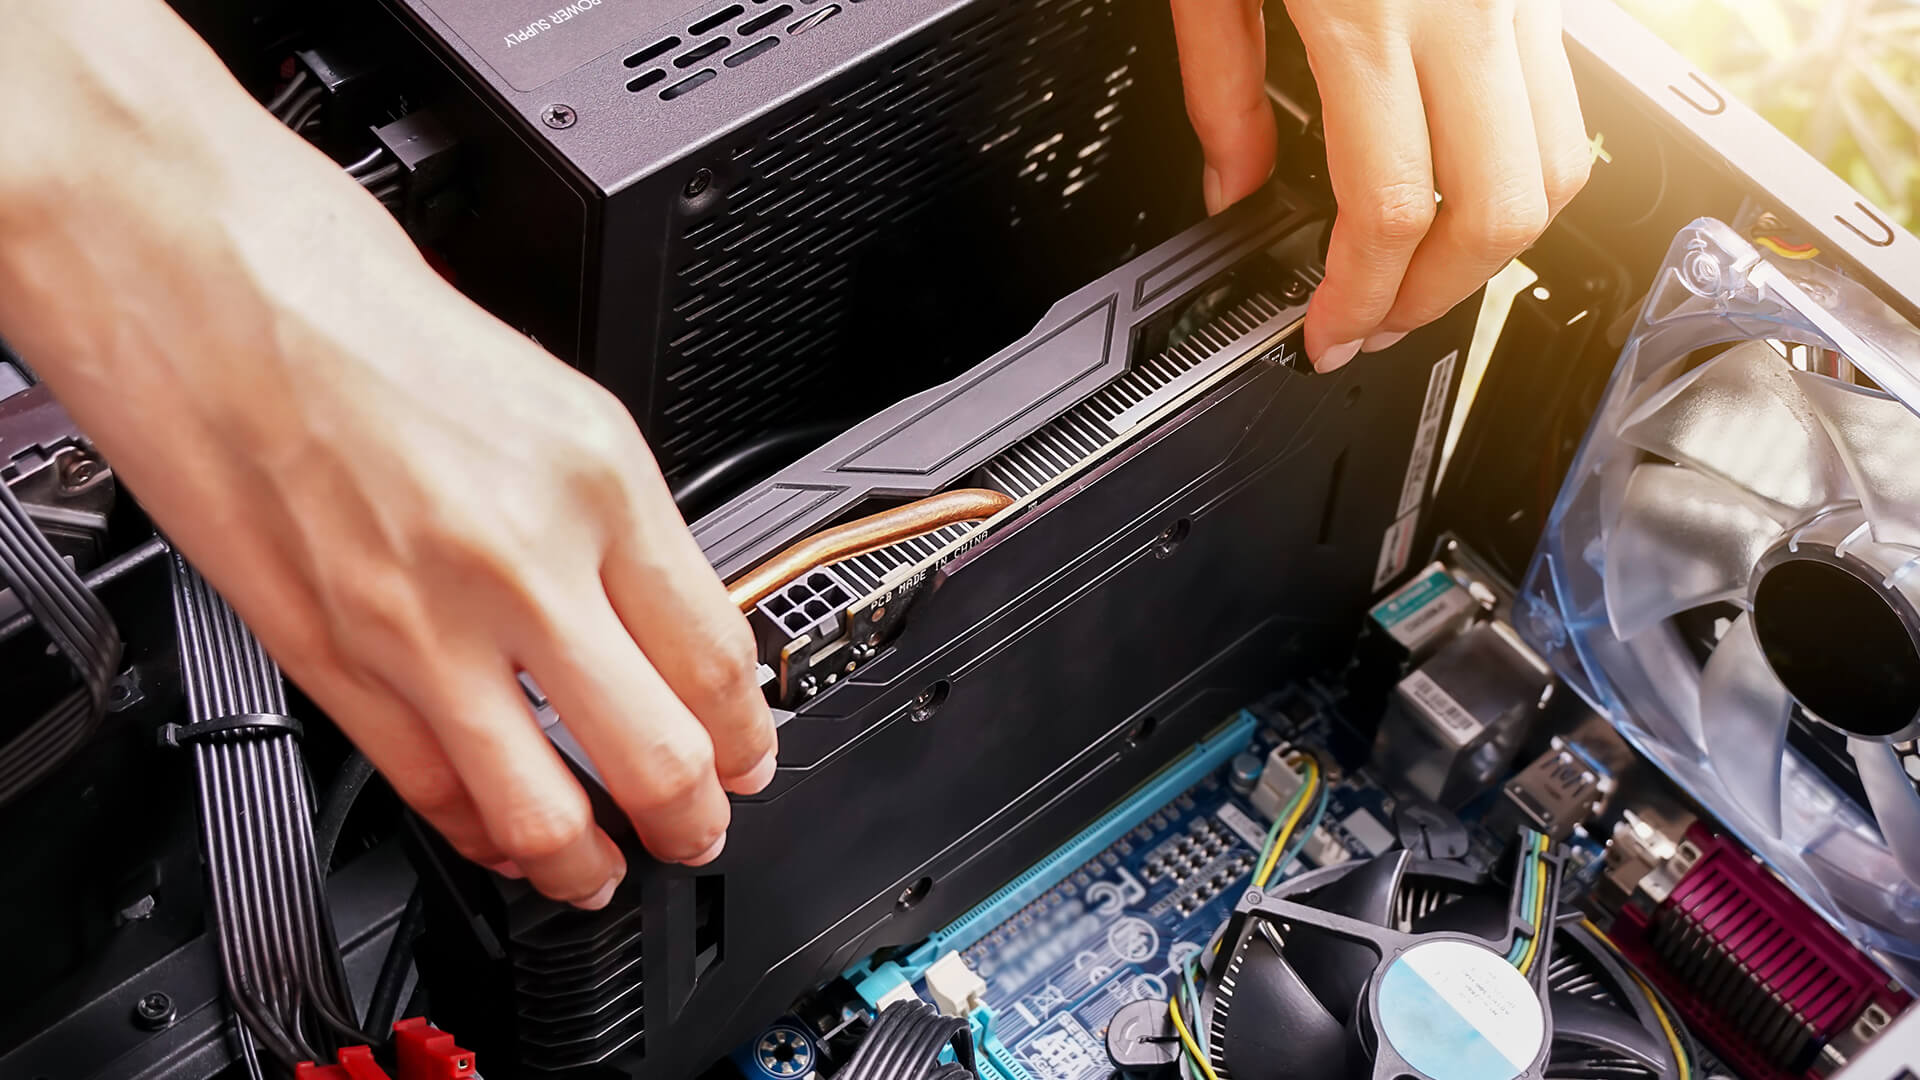
Common GPU Removal and Installation Problems
-
The GPU Will Not Come Out
Check the PCIe retention latch, screws, support bracket and power cable. One of them is usually still holding the card.
-
The New GPU Will Not Click In
Make sure the PCIe slot is clear, the rear bracket is aligned and no cable is blocking the slot. Do not force it at an angle.
-
The PC Turns On but There Is No Display
Check that the monitor is plugged into the graphics card, not the motherboard. Also check the display input, GPU power cable and PCIe seating.
-
The Card Sags
Large graphics cards may sag slightly. Use a support bracket if the card is heavy or the sag is obvious.
-
The Fans Do Not Spin
Many modern GPUs use a zero-RPM fan mode at low temperature. Test under load before assuming the fans are faulty.
-
The PC Shuts Down Under Load
This may be a power supply issue, overheating, unstable drivers or an incorrectly connected GPU power cable.
Final Checklist
Use this checklist when taking out GPU hardware or fitting a replacement:
- PC shut down
- Power cable unplugged
- Anti-static precautions taken
- Display cables removed
- Side panel removed
- GPU power connector disconnected
- Expansion-slot screws removed
- Support bracket removed
- PCIe retention latch released
- GPU pulled out straight
- New GPU lined up correctly
- Screws reinstalled
- GPU power reconnected
- Monitor plugged into GPU
- Drivers installed
- Temperatures tested
Wrapping Up
Learning how to take graphics card out safely is mostly about patience. The card should not need force. If it will not move, something is still attached, usually the PCIe retention latch, power cable, expansion-slot screws or a support bracket.
For a standard desktop PC, shut the system down, unplug it, disconnect the GPU power cable, remove the rear screws, release the PCIe latch and pull the graphics card straight out. To install a new GPU, seat it firmly in the PCIe x16 slot, secure it, reconnect power and install the correct driver.
Laptop GPU upgrades are different. In most laptops, the GPU is integrated or soldered, so you cannot remove and replace it like a desktop graphics card.
Take your time, check compatibility before buying, and never force a graphics card out of the motherboard.
FAQs
-
Why is it so hard to remove my GPU?
A GPU is usually hard to remove because the PCIe retention latch is still locked, the expansion-slot screws are still installed, a support bracket is attached, or the card is tight in the case. Do not force it. Check each holding point first.
-
Is removing a GPU safe?
Yes, removing a GPU is safe if the PC is powered off, unplugged and handled carefully. Use anti-static precautions, disconnect the power cable, remove screws and release the PCIe latch before pulling the card out.
-
Can I remove a graphics card from a laptop?
In most laptops, no. Laptop GPUs are usually integrated into the processor or soldered to the motherboard. Some specialist laptops may use removable modules, but they are rare and not like desktop graphics cards.
-
Can a PC run without a GPU?
A PC can run without a dedicated graphics card only if the CPU or motherboard setup includes integrated graphics. If your processor has no integrated graphics, the PC may power on but you will not get a display without a GPU.
-
Can I just plug and play a new GPU?
Usually, a new GPU will display basic output once installed, but you should install the correct NVIDIA or AMD graphics driver afterwards. You must also check power supply, case clearance and connector compatibility before fitting it.
-
Should I uninstall graphics drivers before removing the card?
You do not always need to uninstall drivers before removing the card. If you are switching between NVIDIA and AMD, removing old driver software first can help avoid conflicts. If you are upgrading within the same brand, installing the latest driver after the swap is usually enough.
-
How do I remove a large graphics card from a PC?
Support the card with one hand, remove any support bracket, disconnect all power cables, remove rear screws, release the PCIe latch and pull the GPU straight out. Extra-large cards may need more room, so move nearby cables out of the way first.
-
How do I know if my new graphics card will fit?
Check the GPU length, thickness, case clearance, PSU wattage, power connector type and motherboard PCIe slot. Also check whether the card will block other slots or interfere with drive cages, front fans or radiator space.
You can pay with:
*PayPal Credit Representative Example: Assumed credit limit £1,200, Representative 23.9% APR (variable). Purchase rate 23.9% p.a (variable).Terms & Conditions apply.


PayPal Credit and PayPal Pay in 3 are trading names of PayPal UK Ltd, 5 Fleet Place, London, United Kingdom, EC4M 7RD. Terms and conditions apply. Credit subject to status, UK residents only, Five Tech LTD acts as a broker and offers finance from a restricted range of finance providers. PayPal Pay in 3 is not regulated by the Financial Conduct Authority. Pay in 3 eligibility is subject to status and approval. 18+. UK residents only. Pay in 3 is a form of credit. Check if affordable and how you will repay. May make other borrowing more difficult or expensive. See product terms for more details.
Copyright © 1996-2026 Fivetech LTD | Terms and Conditions
box.co.uk & Box are trading names of Five Tech Limited. Registered office: Box LTD, Unit 10 Woodford Trading Estate, Woodford Green IG8 8HF