


 Menu
MenuMenu


Get Sales Advice from Mon - Fri 9am - 5:00pm:
020 3337 8950LAST UPDATED: July 17, 2026
Internal PC Components: How Every Part Connects to the Motherboard
A desktop PC looks complicated when you first open the side panel, but most internal PC components connect in a logical way. The motherboard acts as the central hub. The CPU, RAM, graphics card, storage drives, power supply, fans, case buttons and front ports all either connect directly to the motherboard or communicate through it.
Understanding how these parts connect makes PC building, upgrading and troubleshooting much easier. If you know where the CPU socket, DIMM slots, PCIe x16 slot, M.2 connector, SATA ports, fan headers and power connectors are, you can identify problems faster and avoid common mistakes during installation.
This guide explains the main internal PC components, what each part does, and how every component connects to the motherboard. It also covers internal PC components and functions, computer internal cables, storage connections, power supply cables, cooling headers, and the key compatibility checks every builder should know.
Find best desktop processor range or compare graphics card options at Box.co.uk.
How Internal PC Components Connect to the Motherboard
The motherboard is the main circuit board inside the computer. It allows the major internal hardware components of a PC to communicate with each other. Some components plug directly into the motherboard, some connect through cables, and some are powered directly by the power supply while still communicating with the motherboard.
A simple internal PC components list usually includes the motherboard, CPU, RAM, graphics card, storage drives, power supply, cooling fans, CPU cooler, case cables, front-panel connectors and optional expansion cards such as Wi-Fi or sound cards.
| Component | Main Connection | What It Does |
|---|---|---|
| CPU | CPU socket | Processes instructions and runs the system |
| RAM | DIMM slots | Provides short-term memory for active tasks |
| Graphics card | PCIe x16 slot | Handles display output and graphics workloads |
| M.2 SSD | M.2 connector | Provides fast internal storage |
| SATA SSD or hard drive | SATA data cable and SATA power cable | Stores files, games, apps and Windows |
| Power supply | 24-pin ATX, 8-pin EPS, PCIe and SATA power cables | Delivers power to PC components |
| Fans and coolers | Fan and pump headers | Control cooling and airflow |
| PC case | Front-panel, USB and audio headers | Connects buttons, LEDs and front ports |
| Wi-Fi card | PCIe slot or M.2 Key E slot | Adds wireless networking |
| Internal speaker | Speaker header | Provides motherboard beep codes on supported systems |
Once you understand these connection types, the inside of a PC becomes much easier to read.
Components Installed Directly into Motherboard Sockets
Some internal computer hardware installs directly onto the motherboard. The CPU goes into the CPU socket, RAM goes into the DIMM slots, and M.2 NVMe SSDs usually screw into an M.2 connector on the board.
These components do not usually need separate data cables because they communicate directly through the motherboard.
Components Installed in Motherboard Expansion Slots
Expansion cards use motherboard slots. A graphics card usually goes into the main PCIe x16 slot, while smaller PCIe cards can be used for Wi-Fi, sound, capture cards or extra ports.
The PCIe slot carries data between the expansion card, CPU and chipset. High-performance cards such as GPUs may also need extra power cables from the power supply.
Components Connected Through Internal Cables
Some components use internal computer cables. SATA SSDs and hard drives need a SATA data cable to the motherboard and a SATA power cable from the power supply. PC case buttons, front USB ports, front audio ports and RGB lighting also connect using internal headers and cables.
These cable connections are small but important. If one is loose or connected incorrectly, the PC may not start, front USB may not work, or storage may not appear.
Components Powered Directly by the Power Supply
The computer internal power supply powers the whole system. It connects to the motherboard through the 24-pin ATX connector and powers the CPU through the 8-pin EPS CPU connector. It also powers graphics cards, SATA drives, fan hubs and some accessories.
Not every component gets power from the motherboard. For example, a high-power graphics card usually needs direct PCIe or 12V-2x6 power from the PSU.
How the CPU Connects to the Motherboard
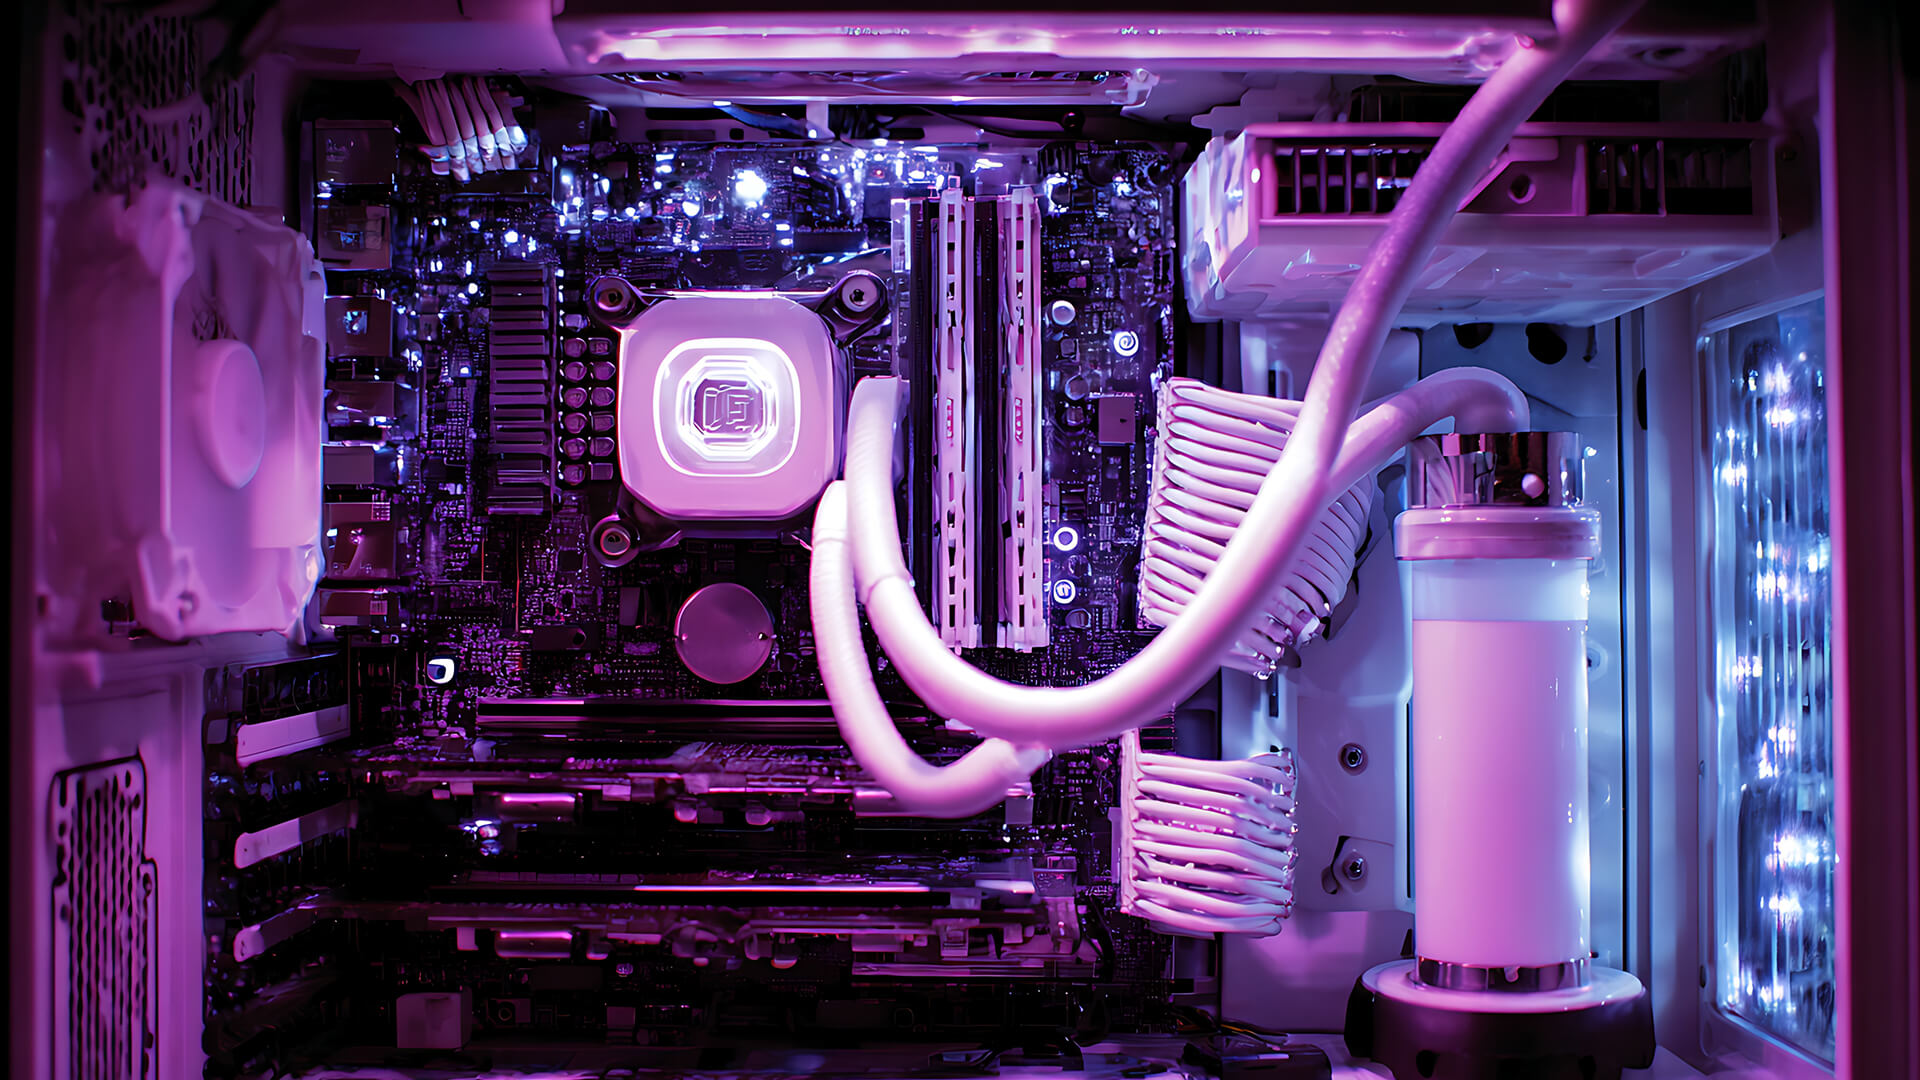
The CPU is the main processor of the computer. It sits in the CPU socket on the motherboard and handles the instructions that make the system work.
Installing the Processor in the CPU Socket
The CPU socket must match the processor. Intel and AMD processors use different sockets, and even processors from the same brand may need different socket types.
The CPU should be installed carefully using the alignment marks on the socket and processor. It should sit flat without force. Once installed, the socket retention arm or frame locks the processor in place.
Before buying, always check CPU and motherboard compatibility. Our motherboard compatibility checks guide explains how to match the right board with the right processor.
Connecting the CPU Power Cable
The CPU also needs power from the power supply. This usually comes through an 8-pin EPS CPU connector at the top of the motherboard. Some high-end boards may have an additional 4-pin or 8-pin CPU power connector.
If this cable is missing or loose, the PC may power on briefly but fail to boot. It is one of the most common build mistakes.
Connecting the CPU Cooler and Fan
The CPU needs a cooler to prevent overheating. Air coolers use a heatsink and fan, while liquid coolers use a pump, radiator and fans.
The CPU cooler fan should connect to the CPU_FAN header on the motherboard. Liquid coolers may also use a pump header. If the CPU fan is not connected correctly, the motherboard may show an error or shut down to protect the processor.
How RAM Connects to the Motherboard
RAM is the short-term memory used by active apps, games and system tasks. It installs into DIMM slots on the motherboard.
Installing Memory in the DIMM Slots
RAM sticks fit into long slots next to the CPU socket. The notch in the RAM module must line up with the slot. Push the module down firmly until the clips lock into place.
If RAM is not seated correctly, the PC may power on but show no display. Reseating RAM is one of the first steps when troubleshooting a new build.
Selecting the Correct Slots for Dual-Channel Memory
Most motherboards support dual-channel memory. This improves performance by allowing the CPU to access memory through two channels.
If you have two RAM sticks and four DIMM slots, the motherboard manual will show which slots to use. These are often the second and fourth slots from the CPU, but this can vary.
Checking DDR4 and DDR5 Compatibility
Motherboards support either DDR4 or DDR5 memory, not both in the same slot. A DDR4 RAM stick will not fit in a DDR5 motherboard, and a DDR5 RAM stick will not fit in a DDR4 board.
Before upgrading, check the supported RAM type, speed, capacity and number of slots. You can compare PC memory upgrades if you need more memory for gaming, multitasking, or work.
How Graphics Cards and Expansion Cards Connect
A graphics card is one of the most important internal PC components for gaming, creative work and display output. It connects through a PCIe slot on the motherboard.
Installing a Graphics Card in the PCIe x16 Slot
Most dedicated graphics cards use the main PCIe x16 slot. This is usually the longest reinforced slot closest to the CPU.
To install the card, line it up with the PCIe x16 slot and the rear case opening, then press it into place until the retention clip locks. Secure the card to the case with screws to prevent sagging or movement.
Connecting Additional Graphics Card Power
Many graphics cards need extra power from the PSU. Depending on the card, this may use 6-pin, 8-pin, multiple PCIe connectors or a newer 12V-2x6 connector.
If the graphics card power cable is missing or not seated properly, the PC may show no display, shut down under load or display a power warning.
Installing Wi-Fi, Sound and Capture Cards
Other expansion cards use PCIe slots too. An internal wireless network card for PC builds may use a small PCIe slot or an M.2 Wi-Fi slot, depending on the design. Sound cards and capture cards also use PCIe connections.
These cards are useful when the motherboard does not include the feature you need, or when you want an upgraded version.
How Internal Storage Devices Connect
Computer internal storage devices hold Windows, apps, games and personal files. Common options include M.2 NVMe SSDs, SATA SSDs and hard drives.
Installing an M.2 NVMe SSD
An M.2 SSD connects directly to an M.2 connector on the motherboard. It does not need a separate data cable or SATA power cable. The drive slides into the slot at an angle and is secured with a screw or tool-free latch.
M.2 NVMe SSDs are popular because they are fast, compact and cable-free. However, not every M.2 slot supports the same PCIe generation or length, so check the motherboard manual.
Connecting SATA SSDs and Hard Drives
A computer SSD hard drive setup may include SATA SSDs, hard drives, or both. SATA drives need two connections: a SATA data cable from the drive to the motherboard and a SATA power cable from the PSU.
SATA SSDs are faster than traditional hard drives, while hard drives are useful for large, affordable storage.
Understanding SATA Data and Power Connections
SATA data cables are thin and connect to SATA ports on the motherboard. SATA power cables are wider and come from the power supply.
If a SATA drive is not detected, check both cables. A connected data cable without power, or power without data, will stop the drive from appearing correctly.
How the Power Supply Connects to PC Hardware
The computer internal power supply is responsible for delivering stable power to every part of the system. It is one of the most important parts of a PC build.
The 24-Pin ATX Motherboard Power Connector
The 24-pin ATX connector is the main motherboard power cable. It plugs into the large socket on the side of the motherboard.
If this connector is loose, the PC may not turn on at all. Make sure it is fully seated and clipped in place.
The 8-Pin EPS CPU Power Connector
The 8-pin EPS CPU power connector supplies power to the processor. It is usually located near the top-left of the motherboard.
This cable is easy to miss in a first build because it sits away from the main 24-pin connector. Without it, the motherboard may receive power, but the CPU may not start.
PCIe and 12V-2x6 Graphics Card Connectors
Dedicated graphics cards may need extra PSU cables. Older and mid-range cards may use 6-pin or 8-pin PCIe connectors, while newer high-power cards may use 12V-2x6 style connectors.
Always use the correct cable from the power supply and make sure it is fully inserted. Avoid bending high-power GPU cables sharply near the connector.
SATA Power Connectors for Drives and Accessories
SATA power connectors supply power to SATA SSDs, hard drives, RGB controllers, fan hubs and some accessories. These cables come from the PSU, not the motherboard.
If a drive or accessory is not working, check whether it needs SATA power as well as a motherboard connection.
You can compare reliable PC power supplies if you are building or upgrading a system.
How Cooling Components Connect
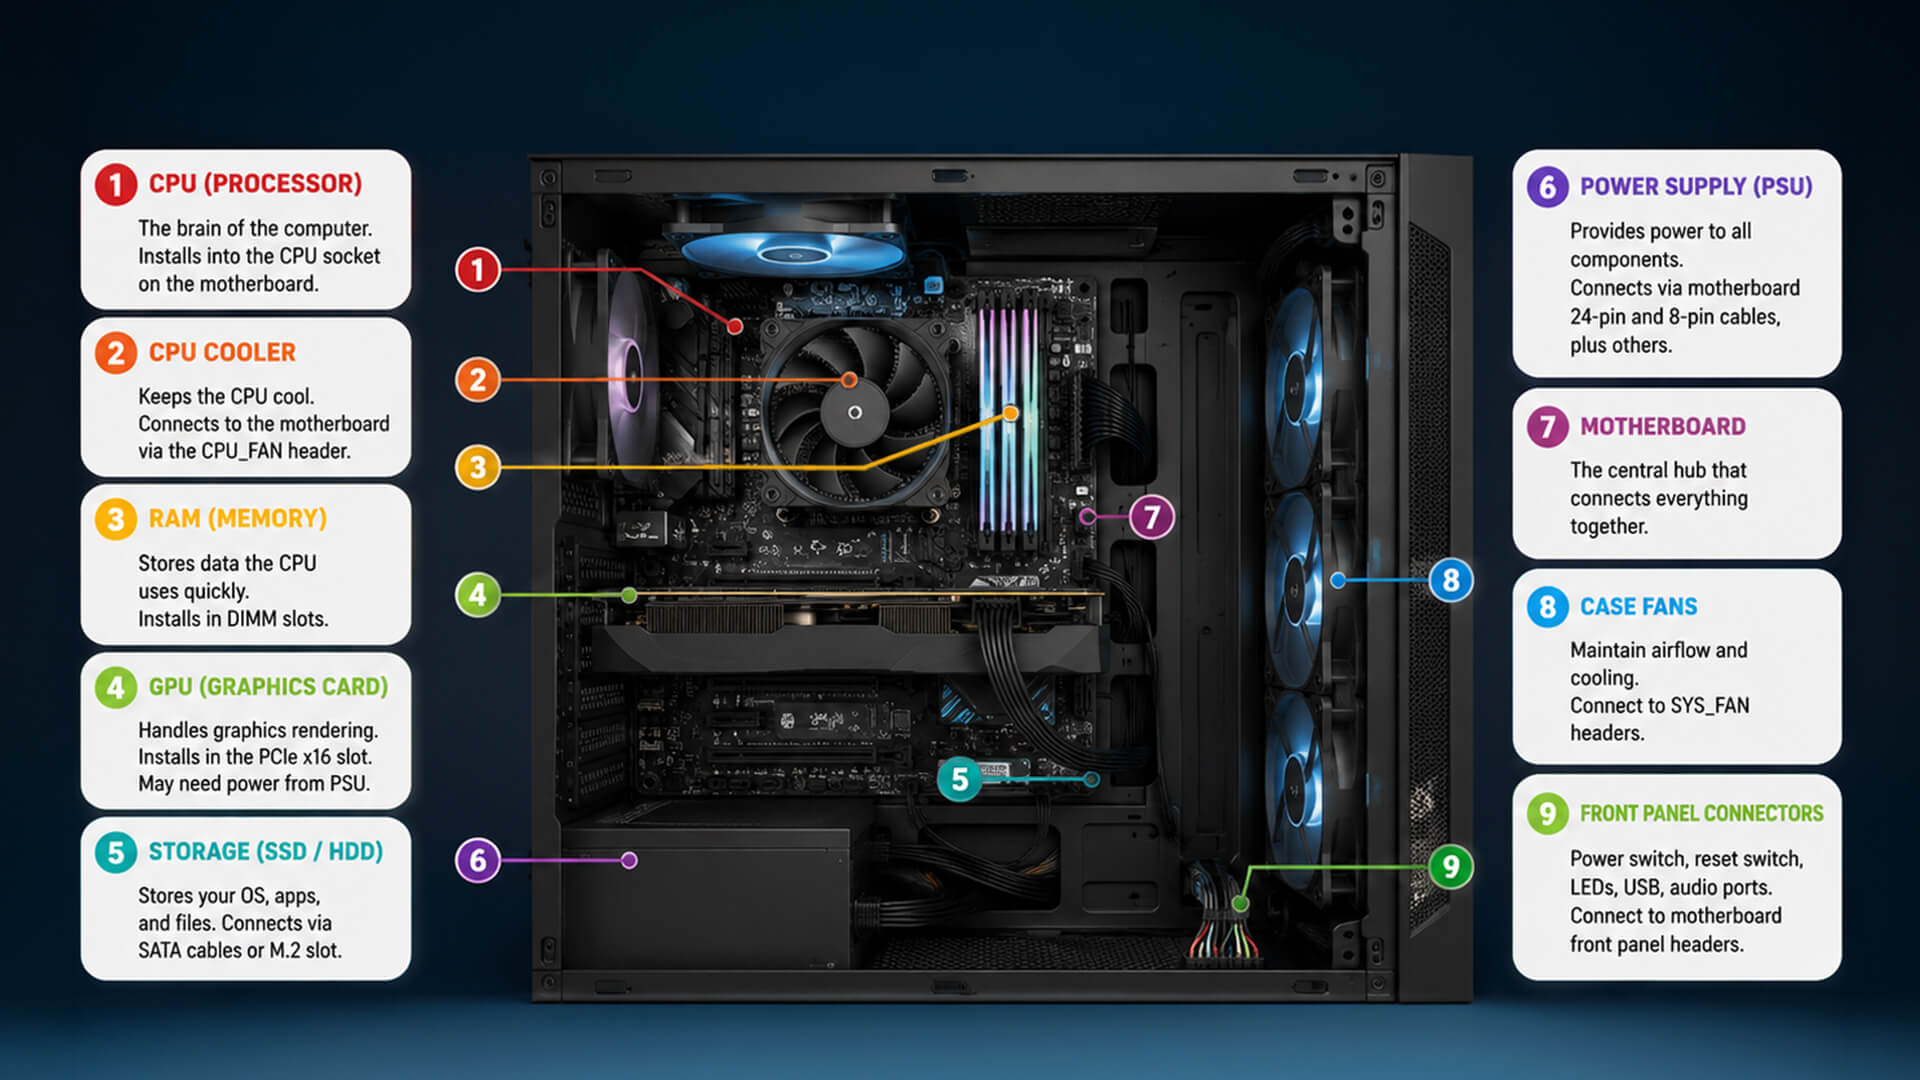
Cooling keeps internal PC components safe and stable. Fans, pumps and heatsinks help move heat away from the CPU, graphics card, storage and motherboard.
CPU Fan and System Fan Headers
The CPU cooler fan connects to the CPU_FAN header. Case fans usually connect to SYS_FAN or CHA_FAN headers. These headers allow the motherboard to power and control fan speed.
An internal computer fan may use a 3-pin or 4-pin connector. A 4-pin fan usually supports PWM speed control, while 3-pin fans may use voltage control.
Pump Headers for Liquid Cooling Systems
Liquid coolers often use a pump header, usually labelled AIO_PUMP or PUMP. The radiator fans may connect to CPU_FAN, CPU_OPT or a fan hub.
Correct pump connection matters because a non-working pump can quickly lead to high CPU temperatures.
Fan Hubs, Splitters and Controller Connections
If your case has many fans, you may use a fan hub or splitter. Some hubs connect to a motherboard fan header for control and use SATA power from the PSU for additional power.
Do not overload a single motherboard fan header with too many fans. Check the motherboard and fan hub guidance first.
How the PC Case Connects to the Motherboard
The case is more than a metal shell. It includes buttons, ports, lights, fans and sometimes RGB controls, all of which need correct motherboard connections.
Power Button, Reset Button and Status LED Connectors
The front-panel headers connect the case power button, reset button, power LED and storage activity LED to the motherboard.
These small connectors are easy to mix up. If the PC does not turn on after a build, the power switch connector is one of the first things to check.
Front-Panel USB and USB-C Headers
The front USB ports on the case connect to internal USB headers on the motherboard. Standard USB ports use USB 2.0 or USB 3.x headers, while USB-C uses a different front-panel USB-C header.
If your case has USB-C but your motherboard does not have the right internal header, the front USB-C port may not work without an adapter.
Front-Panel Audio Connections
The front headphone and microphone ports connect to the motherboard using an HD_AUDIO cable. This header is usually near the bottom-left of the motherboard.
If front audio does not work, check this cable and confirm the correct audio device is selected in Windows.
RGB, ARGB and Internal Speaker Headers
RGB lighting can use different connectors. Standard RGB often uses a 12V 4-pin header, while ARGB usually uses a 5V 3-pin header. Mixing these can damage lighting components, so check carefully.
A PC motherboard internal speaker connects to a small speaker header on some boards. It can provide beep codes for troubleshooting, although not every modern build includes one.
How the Motherboard Manages Communication Between Components
The motherboard does more than physically hold parts. It manages communication between the CPU, memory, storage, graphics and connected devices.
The Role of the CPU and Motherboard Chipset
The CPU handles the main processing work, while the motherboard chipset helps manage communication with storage, USB, PCIe devices and other onboard features.
Different chipsets offer different features, such as more PCIe lanes, more USB ports, better overclocking support or extra storage connectivity. Our motherboard chipset guide explains this in more detail.
How PCIe Lanes Carry Component Data
PCIe lanes are data pathways used by graphics cards, SSDs and expansion cards. A graphics card typically uses the main PCIe x16 slot, while M.2 SSDs may use PCIe lanes for fast storage performance.
The number and generation of PCIe lanes can affect upgrade options and performance.
How BIOS or UEFI Detects Connected Hardware
When the PC starts, the BIOS or UEFI checks connected hardware. It looks for the CPU, RAM, storage drives, fans and boot devices.
If something is missing or not seated correctly, the system may fail to boot, show an error, or not detect the component. This is why BIOS or UEFI is useful for checking whether internal PC components are recognised.
For checking system information in Windows, read How to Check Motherboard Model in Windows 10 or 11.
Internal PC Component Compatibility Checklist
Before buying or installing computer hardware internal parts, check compatibility. Many build problems happen because one component does not match another.
Match the CPU Socket and Motherboard Chipset
The processor must match the CPU socket, and the motherboard chipset should support the CPU. Some boards may need a BIOS update for newer processors.
Confirm the Supported RAM Type and Capacity
Check whether the motherboard supports DDR4 or DDR5, how many RAM slots it has, and the maximum capacity. Also check recommended slot placement for dual-channel memory.
Check Available PCIe, M.2 and SATA Connections
Make sure the motherboard has enough PCIe slots, M.2 connectors and SATA ports for your graphics card, SSDs, hard drives and expansion cards.
Verify Power Supply Wattage and Connector Support
The PSU must provide enough wattage and the right connectors for the motherboard, CPU, graphics card and storage drives. This includes the 24-pin ATX, EPS CPU power, GPU power and SATA power cables.
Check Component Size and Case Clearance
A graphics card may be too long for a small case. A CPU cooler may be too tall. A motherboard may not match the case form factor. Always check dimensions before buying.
For more beginner tips, read our first PC build walkthrough and 15 Motherboard Facts Every First-Time PC Builder Should Know.
Common PC Component Connection Problems
If a PC does not work after installation, the problem is often a loose cable, wrong slot, missing power connector or unsupported part.
The PC Does Not Power On
If nothing happens when you press the power button, check the PSU switch, wall socket, 24-pin ATX connector, CPU power connector and front-panel power switch cable.
A missing or misplaced power switch connector can make a working build appear dead.
The PC Starts but Shows No Display
If the PC powers on but shows no display, check the monitor cable, graphics card seating, GPU power cables and RAM installation. Also confirm the display cable is connected to the graphics card rather than the motherboard if you are using a dedicated GPU.
RAM or Storage Is Not Detected
If RAM is missing in BIOS, reseat the modules and check the correct slots. If storage is missing, check the M.2 installation or SATA data and power cables.
Fans or Cooling Pumps Do Not Work
If fans do not spin, check the fan headers, fan hub power and BIOS fan settings. If a liquid cooler pump is not working, shut the system down and check the pump connection before running the PC for long.
Front USB Ports or Case Buttons Do Not Respond
If front USB ports do not work, check the internal USB header cable. If the power or reset button does not work, check front-panel headers. These small connectors are easy to place incorrectly.
How to Check Internal Connections After Installation
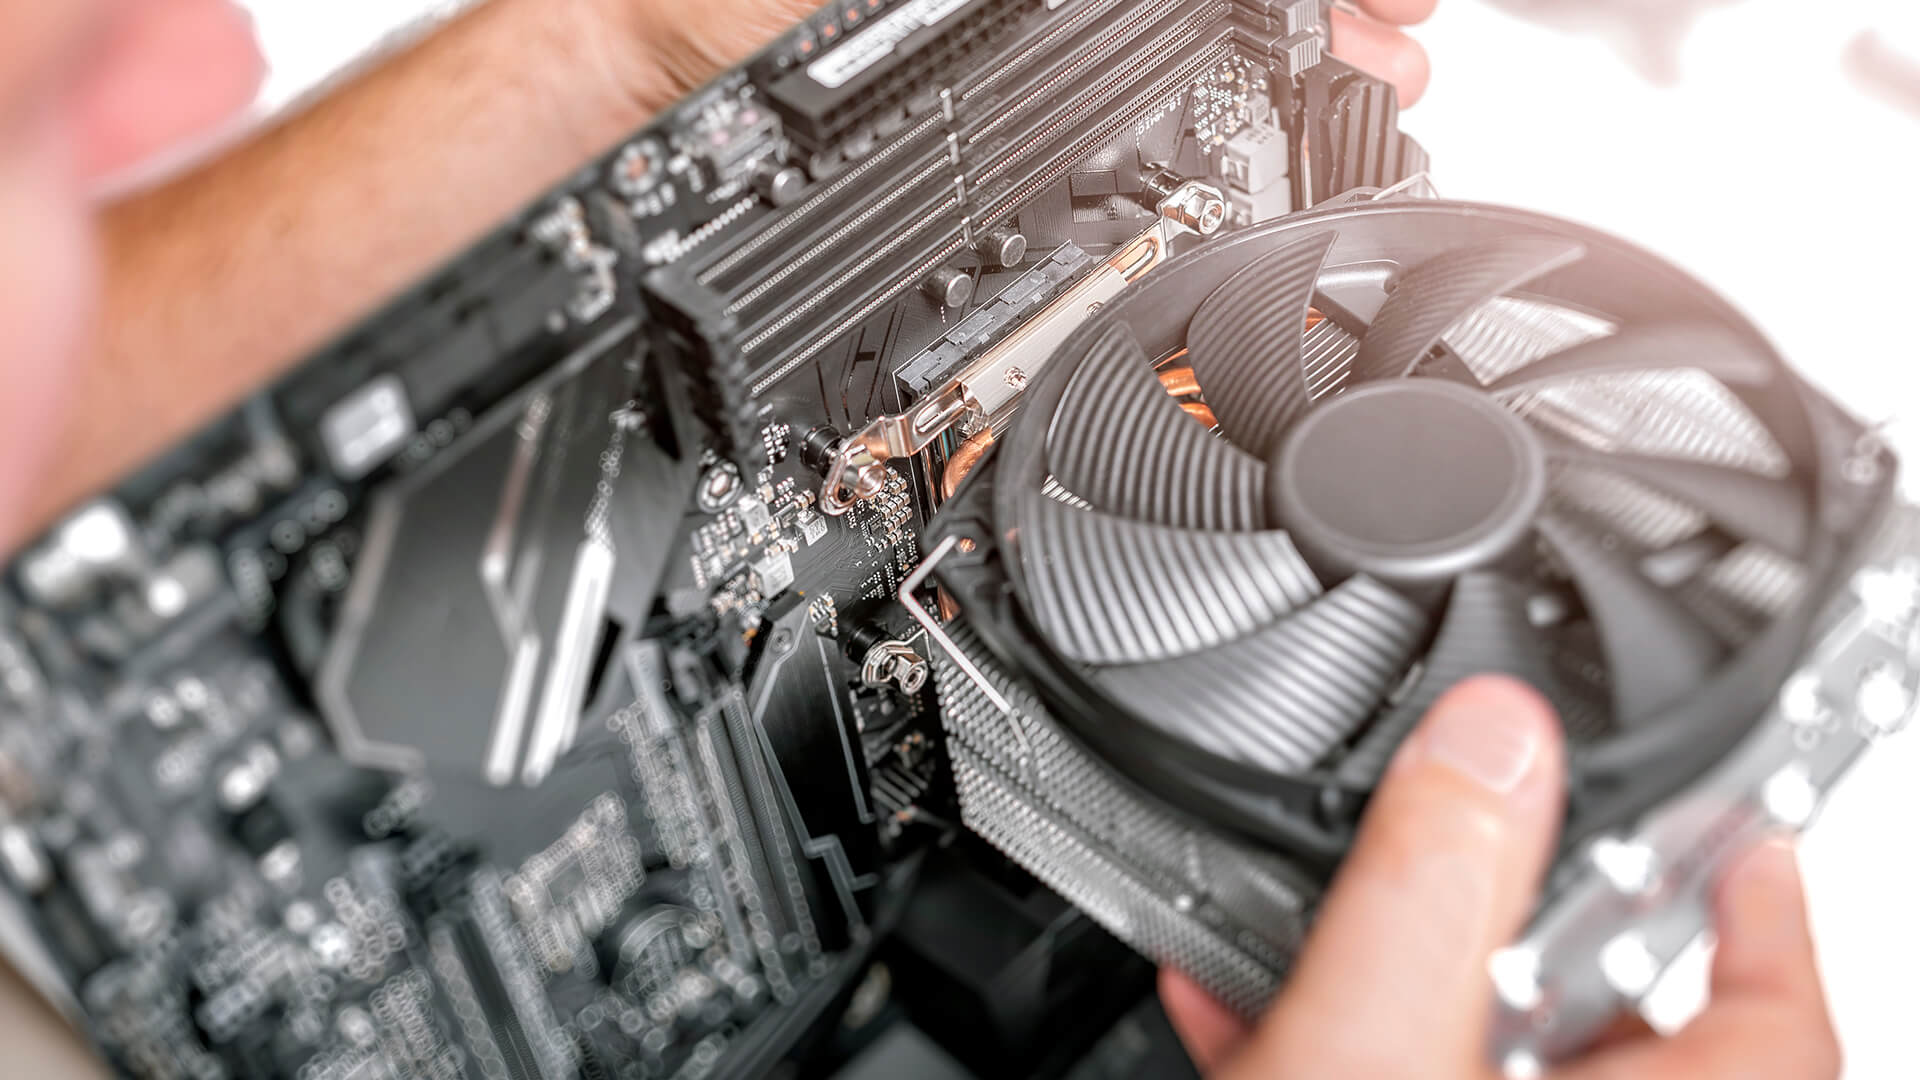
After building or upgrading, take a few minutes to inspect the system before closing the case.
Inspect Cables and Reseat Components
Check that the 24-pin ATX cable, 8-pin CPU power cable, GPU power cable, SATA cables, front-panel cables and fan cables are fully connected. Reseat RAM and graphics cards if the system fails to boot.
Confirm Hardware Detection in BIOS or UEFI
Enter BIOS or UEFI and check that the CPU, RAM, storage drives and fans are detected. Also check boot order if Windows does not load.
Monitor Component Temperatures and Fan Speeds
After Windows loads, test internal temps of PC components using reliable monitoring software. Watch CPU and GPU temperatures, fan speeds and storage temperatures. High temperatures may point to poor cooler mounting, weak airflow or disconnected fans.
Organise Cables for Better Airflow
Good cable management improves airflow and makes future upgrades easier. Keep cables away from fans, avoid blocking intake paths and use case routing channels where possible.
Final Verdict!
Internal PC components work together through the motherboard. The CPU sits in the CPU socket, RAM installs into DIMM slots, the graphics card uses a PCIe x16 slot, and M.2 SSDs connect directly through M.2 connectors. SATA drives use motherboard data ports and PSU power cables, while fans, front-panel buttons, USB ports, audio ports and RGB lighting connect through motherboard headers.
The power supply supports the whole system with the 24-pin ATX connector, 8-pin EPS CPU connector, GPU power cables and SATA power connectors. The motherboard chipset and PCIe lanes help the CPU communicate with storage, expansion cards and connected devices.
For a smooth build, always check compatibility before buying, connect every power and data cable carefully, and confirm hardware detection in BIOS or UEFI after installation.
To start planning your build or upgrade, Browse motherboard options or shop reliable PC power supplies at Box.co.uk.
FAQs
What components are connected to the motherboard?
The CPU, RAM, graphics card, M.2 SSDs, storage drives, fans, case buttons, USB ports, audio ports and expansion cards all connect to the motherboard in different ways. Some install directly into sockets or slots, while others use internal cables and headers.
How is the motherboard connected to the power supply and PC case?
The motherboard connects to the power supply through the 24-pin ATX power connector and the 8-pin EPS CPU power connector. It connects to the PC case through front-panel headers for the power button, reset button, status LEDs, USB ports and audio ports.
What are the internal components of a motherboard?
Internal components of a motherboard include the CPU socket, DIMM slots, PCIe slots, M.2 connectors, SATA ports, chipset, BIOS or UEFI chip, VRM power delivery, fan headers, USB headers, audio headers, front-panel headers and power connectors.
Does every PC component connect directly to the motherboard?
No, not every component connects directly to the motherboard. Some parts, such as the CPU, RAM and M.2 SSD, connect directly. Others, such as SATA drives, case fans, front USB ports and storage accessories, connect through cables. The power supply also connects directly to some components, such as graphics cards and SATA drives.
What are the seven major components inside a computer?
The seven major internal components are usually the motherboard, CPU, RAM, storage drive, graphics card, power supply and cooling system. The PC case also plays an important role because it holds the components and provides airflow, ports and buttons.
What are the common symptoms of a motherboard connection failure?
Common symptoms include the PC not powering on, no display, RAM not detected, storage not appearing, fans not spinning, front USB ports not working, random shutdowns, boot loops or warning lights on the motherboard. In many cases, the issue is caused by a loose cable, unsupported component or incorrectly seated part.
You can pay with:
*PayPal Credit Representative Example: Assumed credit limit £1,200, Representative 23.9% APR (variable). Purchase rate 23.9% p.a (variable).Terms & Conditions apply.


PayPal Credit and PayPal Pay in 3 are trading names of PayPal UK Ltd, 5 Fleet Place, London, United Kingdom, EC4M 7RD. Terms and conditions apply. Credit subject to status, UK residents only, Five Tech LTD acts as a broker and offers finance from a restricted range of finance providers. PayPal Pay in 3 is not regulated by the Financial Conduct Authority. Pay in 3 eligibility is subject to status and approval. 18+. UK residents only. Pay in 3 is a form of credit. Check if affordable and how you will repay. May make other borrowing more difficult or expensive. See product terms for more details.
Copyright © 1996-2026 Fivetech LTD | Terms and Conditions
box.co.uk & Box are trading names of Five Tech Limited. Registered office: Box LTD, Unit 10 Woodford Trading Estate, Woodford Green IG8 8HF