
Menu


Get Sales Advice from Mon - Fri 9am - 5:00pm:
020 3337 8950LAST UPDATED: December 08, 2025
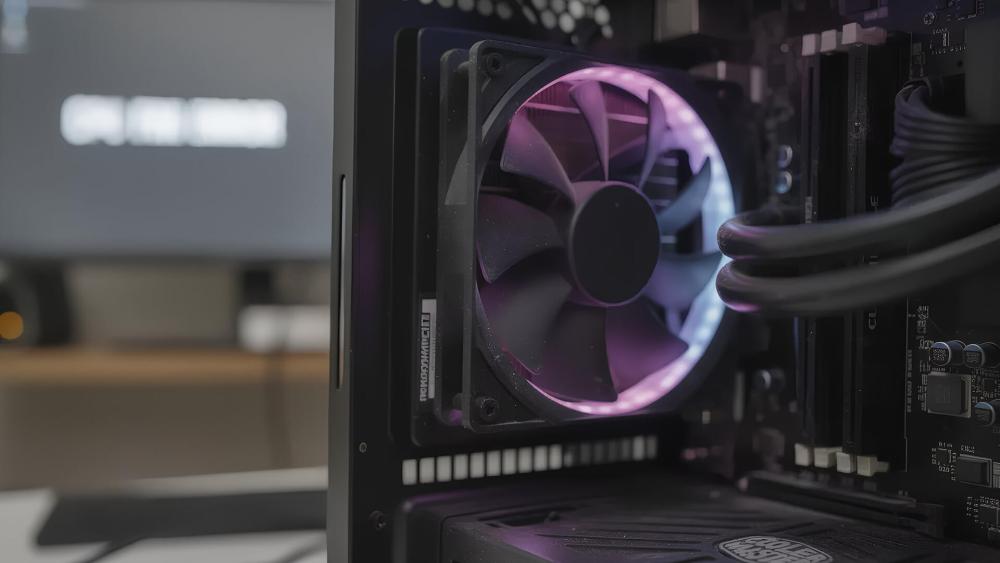
Cooler Master Fan Keeps Stopping / Turning Off Then Back On - Diagnosing PWM Curve & Voltage Issues
When your Cooler Master fan keeps stopping, turning off, then starting back up again, it can be incredibly frustrating especially when you're in the middle of gaming, heavy workloads, or simply trying to keep your system quiet and cool. Fan start-stop behaviour almost always points to issues with PWM configuration, voltage delivery, low RPM thresholds, or inconsistent power from the fan header or hub.
This detailed guide will help you understand why your Cooler Master cooling fans behave this way, how to diagnose the problem, and what steps you can take to fix it.
So, let's get into it!
Causes Why Your Case Fan Keeps Stopping or Restarting?
Fan stop–start behaviour is almost always caused by one of four common issues incorrect PWM/DC settings, unstable power, low RPM settings, or hub/splitter problems. Here's what each one means in simple terms.
PWM vs DC Mode: Fan Header Configuration Matters
Every modern motherboard allows you to configure fan headers as either PWM (Pulse Width Modulation) or DC (Voltage Control). Understanding the difference is crucial because mismatching the mode with the type of fan connected is one of the leading causes of stop-start behaviour.
In PWM mode, a 4-pin fan receives a steady 12V supply combined with a PWM signal that rapidly turns the power on and off to control speed. If that PWM fan is placed into DC mode, the motherboard instead adjusts voltage between ~5V and 12V to control speed. The result? The fan becomes unstable because it's receiving the wrong type of electrical signal.
Fans typically require a minimum startup voltage to overcome motor resistance. When the voltage dips too low, which is common in DC mode; the fan blades may twitch, stutter or attempt to spin but fail to maintain momentum. This creates a loop where the fan tries to start, stalls, and tries again.
Real-world example: A user sets their PWM case fan to "Silent Mode," which drops voltage too low in DC mode. The fan spins briefly, stops, spins again, then halts repeatedly. Switch the header to PWM mode, and the fan runs smoothly.
If you're experiencing a Cooler Master fan PWM issue, this is the first setting to verify.
Voltage Drops and Power Delivery Issues
Even if your settings are correct, the fan may still not receive consistent power. Voltage problems typically come from:
- Weak or overloaded motherboard headers
- Cheap PWM fan hubs unable to distribute stable current
- Fan splitters with multiple high-draw fans
- Faulty cables or damaged fan connectors
- Insufficient PSU rails supplying unstable power
When voltage dips below the fan's required torque level, the motor cannot maintain speed. Cooler Master fans often require a stable 12V source to operate properly; any deviation can cause intermittent stopping.
Example scenario:
A user connects four ARGB fans to a single non-powered splitter. Each fan draws power from the same header, stretching its limits. When all fans ramp up at once, the voltage dips, and one or more fans begin pulsing on and off.
This is why understanding the role of Reliable Power Supplies, and proper power distribution is essential when running multiple fans or RGB-heavy setups.
Fan Curve Too Low? How RPM Thresholds Work
Every fan has a minimum stable RPM, below which it cannot spin reliably. Cooler Master fans typically idle between 400–700 RPM depending on the model. When a BIOS fan curve instructs the fan to run below that RPM for example, 0–20% PWM duty cycle; the fan attempts to spin at a speed that doesn't produce enough torque.
This causes stalling. Instead of slowing down gradually, the fan abruptly stops, waits for a temperature change or recalculation, then surges back to life resulting in the start-stop cycle many users observe.
This happens most often when users create fan curves that prioritise silence. While silent operation is desirable, setting the curve too low (especially on a PWM fan hub) forces the fan into an unstable speed.
Signs your RPM threshold is too low:
- Fan spins for 2–3 seconds then stops
- Fan only spins during heavy loads
- Idle temperatures trigger constant spin-ups
Increasing your minimum duty cycle prevents stalling and keeps airflow consistent.
Impact of Fan Hubs and Splitters on Stability
Fan hubs and splitters are extremely useful, but they can be problematic when misconfigured or overloaded. A non-powered splitter divides voltage across all fans, meaning each connected fan receives only a portion of the available current.
Powered hubs are safer because they take power directly from the PSU, but they still rely on the PWM signal from the motherboard. If that signal is weak, unstable or incorrectly set, every fan connected will inherit the same issue.
Common issues caused by fan hubs:
- Fans stuttering due to insufficient power
- Mixed fans (PWM + DC) confusing the hub
- ARGB fans drawing too much power for a splitter
- RPM reporting errors causing fans to stop unexpectedly
Understanding how your cooling ecosystem is wired is essential for preventing widespread fan instability.
Diagnostic Steps to Identify the Cause
Now that you understand why the issue happens, let's diagnose it step-by-step. Proper diagnosis ensures you fix the actual cause rather than adjusting random settings.
Test Fan on Direct Motherboard Header
Connect the fan directly to a physical motherboard header with no hub, splitter or extension cable. This is one of the simplest ways to isolate whether the issue is with:
- The fan itself
- The hub
- The cable
- The motherboard header
- Software interference
If the fan works perfectly when directly connected, the issue is not with the fan motor; it's with whatever was between the fan and the header.
Monitor RPM and Voltage Using BIOS or Software
Monitoring tools like BIOS fan control, Fan Xpert, MSI Center, or Argus Monitor can reveal crucial information. Pay attention to:
- RPM readings dropping to zero
- Sudden voltage dips
- PWM duty cycle jumping erratically
- Incorrect temperature sensors being referenced
If your fan switches off often at low RPMs in software, it means your curve is too shallow, or voltage is too low.
|
Tip: Check Compatible Fan Headers on Boards Before connecting PWM or ARGB fans, always check compatible fan headers on boards to ensure you're using the correct 4-pin PWM or 3-pin DC header. Matching the right header type prevents voltage instability, RPM misreads and start–stop behaviour, especially when adding multiple fans or using hubs. |
Temporarily Reset to Default Fan Profile
Motherboard manufacturers always include safe, balanced fan profiles. Resetting to:
- Standard
- Normal
- Default
- Optimised
…will eliminate fan curve misconfiguration as a cause.
If the fan stops pulsing after this, the issue was definitely your custom curve or software override.
Swap Cables or Fans to Isolate Faulty Component
Hardware-based issues can be confirmed by swapping:
- The cable
- The fan
- The header
- The hub or splitter
If a different fan behaves correctly on the same header, your Cooler Master fan may have worn-out bearings. If every fan fails on the same header, the header is likely faulty.
How to Fix Start–Stop Fan Behaviour
Once you've identified what's causing your Cooler Master fan to repeatedly stop and start, you can apply the correct fix. Each solution below explains why it works, how to perform it, and what result you should expect. These steps are designed to eliminate voltage drops, calibration errors, incorrect PWM signalling and fan curve issues; the most common triggers for unstable fan operation.
Adjust Fan Curve for Reliable RPM Range

One of the most frequent reasons a Cooler Master fan shuts off and then turns back on is because the fan curve is asking the motor to run slower than it physically can. Every fan requires a certain amount of torque to begin spinning and a minimum electrical pulse width (PWM duty cycle) to maintain rotation. When the curve drops below this threshold, the fan stalls, the motherboard senses "0 RPM," and then the fan attempts to restart creating a loop of pulsing behaviour.
To fix this, open your BIOS or fan control software and look for your Smart Fan, Q-Fan, or Fan Tuning settings. Examine the lower end of the curve, particularly the temperature range associated with idle or low-load operation. If the fan is set to run at 0%, 10%, or even 20% duty cycle, this may not provide enough power for the fan motor to maintain rotation. Cooler Master fans often need at least 30–40% PWM to spin reliably, even if temperatures are cool. Increasing this baseline ensures the fan never receives a voltage too low to sustain movement.
A helpful way to test stability is to flatten the curve temporarily. Set the fan to run at a constant speed in the 35–45% range until your CPU or system reaches 55–60°C. After this point, you can increase the curve more sharply. This prevents the fan from ramping up and down repeatedly as tiny temperature fluctuations occur near idle.
If the fan becomes stable the moment you raise the minimum duty cycle, this confirms that your original curve was too aggressive.
|
Tip: Browse Chassis Cooling Fans for Better Airflow If your current fans struggle with startup torque or airflow, it may be worth browsing chassis cooling fans to compare higher-quality models with stronger bearings, improved PWM control and better static pressure for radiators and dense mesh cases. |
Ensure Proper Header Mode and BIOS Settings
Your motherboard must correctly identify whether the attached fan is a PWM fan (4-pin) or a DC fan (3-pin). When the header is set to the wrong mode, the fan receives the wrong type of control signal, which directly causes unstable spinning.
If the header is set to DC mode while using a 4-pin PWM fan, the motherboard will reduce voltage to control speed. PWM fans are designed to always receive a full 12V and instead rely on the PWM signal for speed control. As a result, the fan may repeatedly stall because it doesn't have enough voltage to maintain rotation. The opposite scenario running a DC fan on PWM mode causes jittery, inconsistent speeds because the fan doesn't know how to interpret the PWM signal.
Open your BIOS and locate the Fan Header Mode setting. Switch the CPU_FAN or SYS_FAN header to PWM mode if your Cooler Master fan is 4-pin. Ensure all other BIOS options such as "Smart Fan Mode," "Silent Mode," or "Zero RPM Mode" are configured correctly, as they may override your curve. Temporarily disabling Zero RPM Mode is helpful during troubleshooting, as it prevents the motherboard from intentionally stopping the fan during low temperatures.
Some motherboards also include features like fan smoothing, ramp speed, or response delay. These help prevent rapid speed changes and may resolve a stuttering fan curve. If your PWM fan voltage fluctuates sharply, enabling smoothing can make RPM transitions far more stable.
Correcting header mode resolves a significant number of Cooler Master fan PWM issue complaints because it restores clean, consistent PWM pulses to the motor.
Use Powered Hubs When Running Multiple Fans
If your setup uses several case fans, radiators, ARGB fans, or daisy-chained fans via splitters, you may be inadvertently starving the motors of voltage. A motherboard fan header typically supplies 1A of power, which is enough for one or two fans but not a large cluster especially high-RPM or ARGB models that draw additional current for their lighting.
A powered PWM hub solves this by taking electrical power directly from the PSU while only using the motherboard header for control signalling. This ensures each fan receives stable, strong voltage regardless of load, startup torque, or lighting effects. When fans share a non-powered splitter, voltage drops are common, which cause one or more fans to stop spinning momentarily and restart when voltage recovers.
If you notice that all fans connected to a hub start and stop at the same time, your hub is likely underpowered. If only one fan on the hub behaves this way, that fan may be receiving the last share of power or its cable may be compromised.
Switching to a powered hub helps ensure that your PWM fan hub distributes both voltage and PWM signals correctly. This is especially important if you are comparing or adjusting airflow setups based on guidance like a Fan count & airflow guide or if you are working with ARGB-heavy cooling systems.
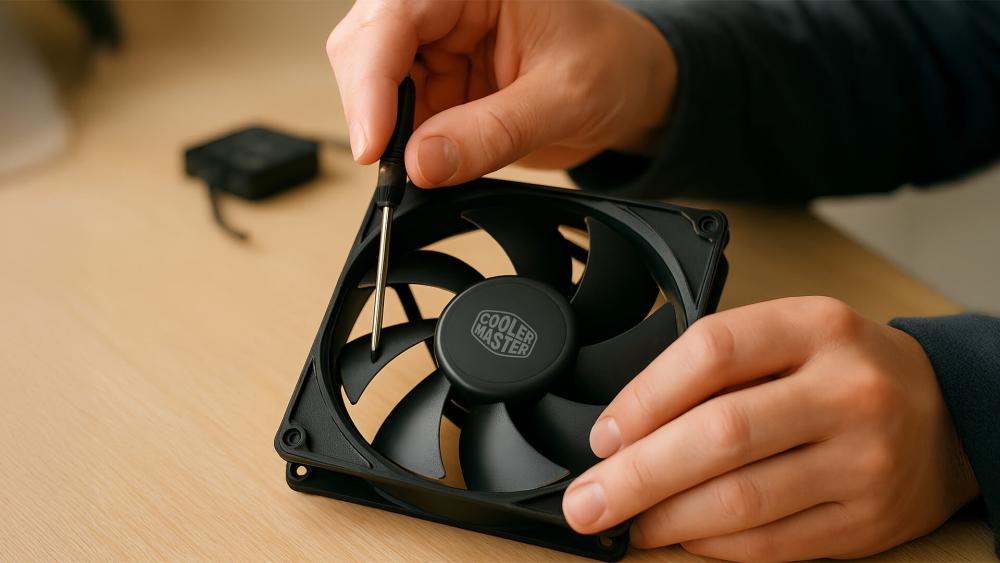
Consider Upgrading Fans If Startup Torque Is Weak
If your fan continues to stutter, stall, or struggle to maintain RPM even after correcting PWM mode and raising the fan curve, the issue may simply be the physical condition of the fan itself. Over time, fan bearings degrade, lubrication dries out, and motors lose torque. When this happens, the fan becomes unable to overcome its own internal friction at low RPMs and must start at a higher voltage or PWM percentage than it did when new.
Symptoms of worn-out or failing fans include:
- Clicking or ticking noises at startup
- Grinding or vibrating sounds during rotation
- The fan needing to be tapped or nudged to start spinning
- RPM values fluctuating despite consistent PWM settings
- The fan stopping even when set to a stable speed
Cooler Master fans with worn bearings may attempt to start but immediately stall because the motor no longer delivers sufficient torque. Even if the fan eventually runs at high RPM, the inability to maintain lower speeds confirms mechanical wear.
If your fan consistently fails to hold stable rotation across multiple headers, cables, and fan curves, upgrading to a newer model with stronger startup torque, a more efficient motor, or improved fluid dynamic bearings is the most reliable long-term fix. Newer Cooler Master fans also feature smoother PWM behaviour and better compatibility with modern motherboards, reducing the risk of future PWM-related issues.
|
Tip: Fan Lighting Issue Fix If your fan's lighting flickers, shuts off or desynchronises from the rest of your setup, it may be related to ARGB signal interference or incorrect header use. Following a proper fan lighting issue fix guide helps ensure your lighting and cooling operate smoothly together without voltage drop or signal loss. |
When to Replace, RMA or Seek Support?
When your Cooler Master fan continues to stop and start even after correcting PWM settings, adjusting the fan curve, testing different headers and stabilising power delivery, it may be time to consider replacement or support. A failing fan will often show clear symptoms such as wobbling blades, grinding noises, weak startup torque, unstable RPM or requiring a physical tap to begin spinning, which indicates worn bearings or a failing motor.
However, if multiple fans all show the same behaviour on a specific motherboard header but work correctly elsewhere, the fault is likely with the header itself rather than the fan something that can happen due to electrical surges, ageing circuitry or incorrect use of hubs and splitters, making it important to verify the reliability of your power supply and fan headers. Prebuilt and OEM systems can complicate this further, as they often use locked BIOS settings or proprietary fan hubs that restrict proper PWM control, causing fan speed conflicts or preventing minimum RPM settings from being set. In these situations, replacing the hub, using a powered controller or seeking support from the system manufacturer may be necessary to ensure stable fan operation.
Final Thoughts!
In summary, a Cooler Master fan that constantly stops and starts is almost always caused by incorrect PWM settings, a too-low fan curve, unstable voltage from hubs or splitters, or a fan that's reaching the end of its lifespan.
By checking your BIOS configuration, testing the fan directly on a motherboard header, and ensuring proper power delivery, you can quickly determine whether the issue is software-related or a failing component. Once corrected, your system should return to smooth, consistent cooling performance.
And if your fan continues to struggle despite proper settings, replacing it is often the most reliable long-term fix; exploring new Cooler Master fans, reliable power supplies, or compatible PC case fans from Box.co.uk can help you find the best upgrade for your setup.
Frequently Asked Questions
Can I run a PWM fan without PWM?
Yes. PWM fans can run in DC mode, but speed control becomes less precise and may lead to stalling at low RPMs.
Can BIOS misdetect a 4-pin fan as DC?
Absolutely. Some motherboards incorrectly detect fans, causing PWM fans to operate in DC mode. This results in unstable behaviour.
Should I always use a fan hub or splitter?
Only when necessary. Use a splitter for low-power fans and a powered hub for multiple fans or ARGB setups.
What's the safe minimum duty cycle for most fans?
Most Cooler Master fans operate reliably above 30–40%. Below this, many will stall or fail to start.
How do I run a PWM fan at full speed?
Set your motherboard header to PWM mode, then select 100% duty cycle or "Full Speed" mode in BIOS.
You can pay with:
*PayPal Credit Representative Example: Assumed credit limit £1,200, Representative 23.9% APR (variable). Purchase rate 23.9% p.a (variable).Terms & Conditions apply.

PayPal Credit and PayPal Pay in 3 are trading names of PayPal UK Ltd, 5 Fleet Place, London, United Kingdom, EC4M 7RD. Terms and conditions apply. Credit subject to status, UK residents only, Five Tech LTD acts as a broker and offers finance from a restricted range of finance providers. PayPal Pay in 3 is not regulated by the Financial Conduct Authority. Pay in 3 eligibility is subject to status and approval. 18+. UK residents only. Pay in 3 is a form of credit. Check if affordable and how you will repay. May make other borrowing more difficult or expensive. See product terms for more details.
Copyright © 1996-2026 Fivetech LTD | Terms and Conditions
box.co.uk & Box are trading names of Five Tech Limited. Registered office: Box LTD, Unit 10 Woodford Trading Estate, Woodford Green IG8 8HF