


 Menu
MenuMenu


Get Sales Advice from Mon - Fri 9am - 5:00pm:
020 3337 8950LAST UPDATED: July 21, 2026
TP-Link WiFi Extender Setup: Easy App, WPS and Browser Steps
A TP-Link WiFi extender can help improve wireless coverage in rooms where your router signal is weak. If your bedroom, office, garage, loft or garden room has slow WiFi, a wireless range extender can reduce dead zones without replacing your whole network.
The good news is that TP-Link WiFi extender setup is usually simple. Most models can be set up through the TP-Link Tether app, the WPS button, or a browser using the web management page. Once connected, the extender rebroadcasts your existing WiFi signal so devices can connect from further away.
This guide explains the easiest ways to complete TP-Link extender setup, including app setup, WPS setup, browser login, Ethernet access point mode, mobile setup, changing WiFi settings, and troubleshooting common connection problems.
To compare upgrade options, browse WiFi coverage boosters at Box.co.uk.
What Does a TP-Link WiFi Extender Do?
A TP-Link WiFi extender takes the wireless signal from your router and extends it to a wider area. It is useful when your main router works well in some rooms but struggles in others.
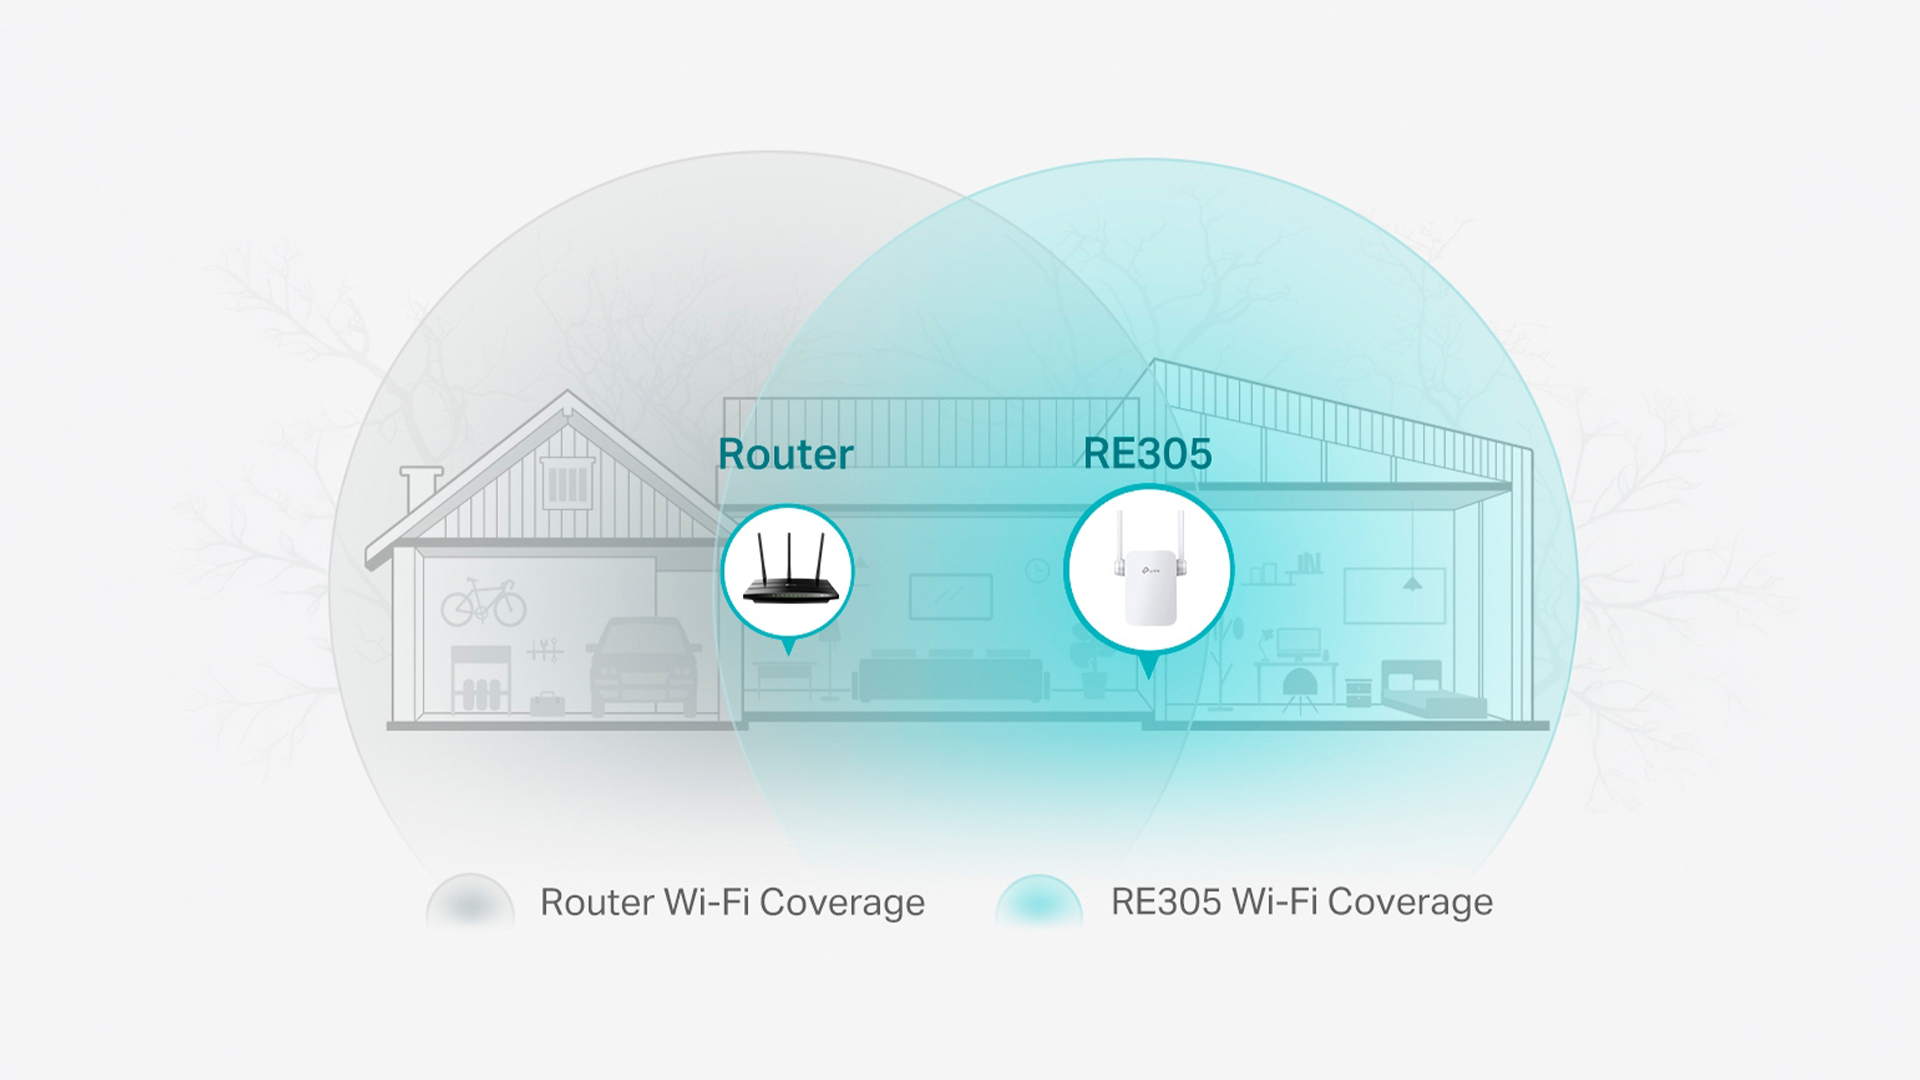
For example, your router may be in the hallway, but the signal may weaken by the time it reaches an upstairs bedroom or back office. A range extender sits between the router and the weak-signal area, helping devices connect more reliably.
A TP-Link range extender setup is best for fixing a specific WiFi dead zone. If your whole home has weak coverage, a mesh system or router upgrade may be better. But for one or two problem areas, an extender can be a practical and affordable fix.
For help with router positioning first, read our guide: Best Place for a WiFi Router: Home Placement Guide for Improved Signals.
Before You Start Your TP-Link Extender Setup
Before starting, make sure you know your main WiFi network name and password. You will need these when connecting TP-Link extender to your existing router.
Place the extender near your router during setup. This helps the extender receive a strong signal while it is being configured. After setup, you can move it to a better location between the router and the area where WiFi is weak.
Your extender may create an extended network SSID, sometimes using your existing network name with “_EXT” added. Some newer TP-Link mesh extender models may also use the same network name as your main router if EasyMesh or OneMesh features are active.
Quick Setup Checklist
| What You Need | Why It Matters |
|---|---|
| Main WiFi name and password | Needed to connect the extender to your router |
| TP-Link extender plugged in near the router | Helps setup complete with a strong signal |
| Phone, tablet or laptop | Needed for app or browser setup |
| TP-Link Tether app | Easiest setup method for many users |
| WPS button on router and extender | Fast setup method if both devices support WPS |
| Ethernet cable | Needed for access point mode on supported models |
If your current router signal is already poor near the extender, the extender will repeat a weak signal. Placement matters just as much as setup.
Method 1: TP-Link Extender Setup App
The easiest way to set up many TP-Link extenders is through the TP-Link Tether app. This method is useful because it guides you through the process on your phone and helps you manage settings later.
The TP-Link extender setup app method is a good choice if you want a simple step-by-step experience without typing router addresses into a browser.
How to Set Up a TP-Link Extender With the Tether App
Plug the extender into a power socket near your router and wait for it to start. Open the Tether app on your phone and sign in or continue with local management if your setup allows it. Add the extender, choose your main WiFi network, enter your router WiFi password and follow the app instructions.
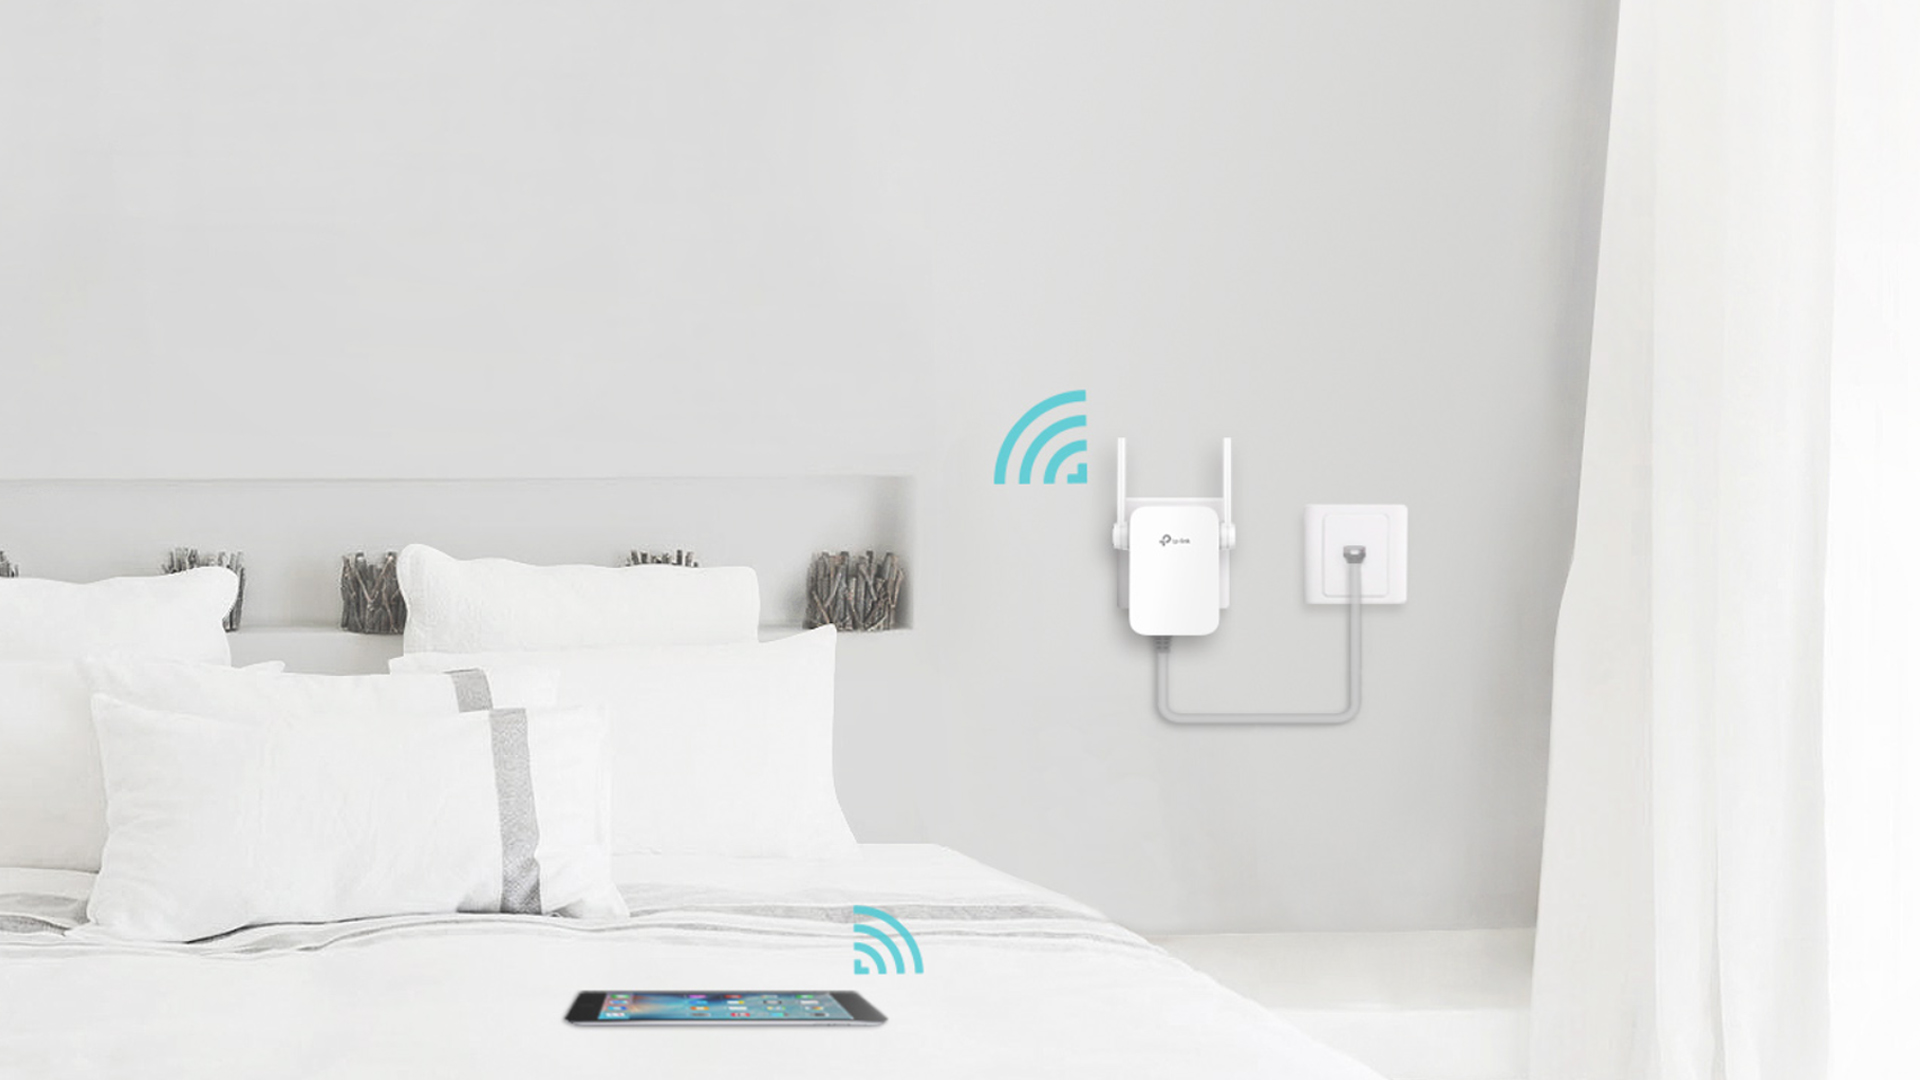
Once setup is complete, the extender should create an extended network. You can then move it to a better spot, ideally somewhere that still receives a strong signal from the router.
Why the App Method Is Best for Most Users
The app method is helpful because you can manage the extender from your phone. You can check connection status, change WiFi settings, view connected devices and adjust the extended network name.
It is also useful if you later need to change WiFi on TP-Link extender after changing your router name or password.
TP link Extender Setup Through Mobile
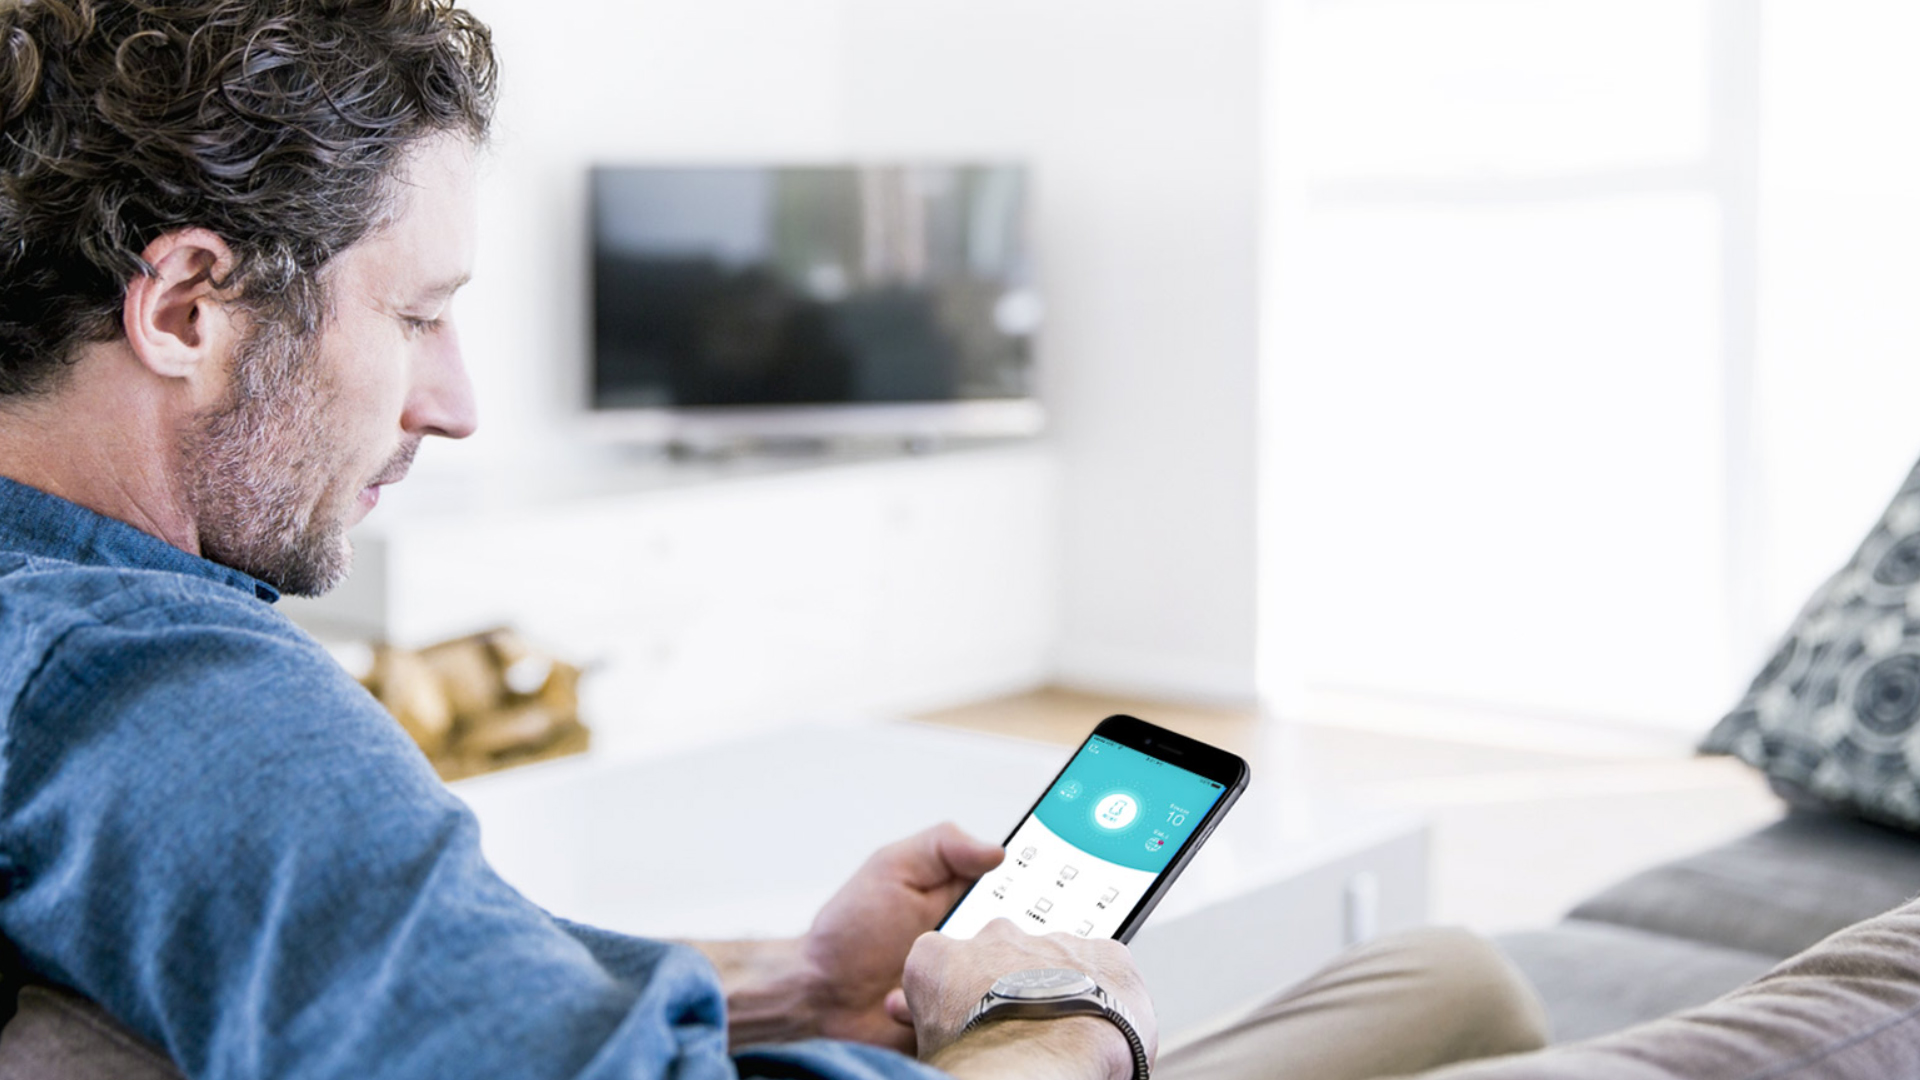
TP-Link extender setup through mobile is usually done through the Tether app. This is often the best method if you do not have a laptop nearby or want a quicker setup experience.
Start by connecting your phone to your normal home WiFi, downloading the Tether app and plugging in the extender near your router. The app should detect the extender or let you add it manually. During setup, choose your main WiFi network and enter the correct WiFi password.
After setup, connect your phone to the extended network and test the signal in the room where you need better coverage. If the speed is poor, move the extender closer to the router.
A mobile setup is also useful for checking signal strength while walking around your home. You can test different plug sockets until you find the best balance between router signal and room coverage.
Method 2: TP-Link Booster Setup With WPS
The WPS method is one of the fastest ways to complete TP-Link booster setup. It uses the WPS button on your router and extender to connect them without typing the WiFi password manually.
This method works best when your router supports WPS and the extender is close to the router during setup.
How to Set Up a TP-Link Extender With WPS
Plug the extender into a power socket near your router. Press the WPS button on your router, then press the WPS button on the TP-Link extender within the required time. Wait for the extender’s signal LED or RE light to show that the connection has completed.
Once connected, move the extender to a better location. Do not place it at the far edge of your WiFi signal. It should sit somewhere between your router and the dead zone, where it can still receive a strong signal.
When WPS Is Useful
WPS is useful when you want the quickest setup and do not need to customise network names or settings straight away. It can be ideal for simple homes where the router and extender are compatible.
However, if WPS does not work, use the Tether app or browser method instead. The app and browser methods give you more control and are often easier for troubleshooting.
Method 3: TP-Link Extender Login Through Browser
You can also complete WiFi extender setup TP-Link through a browser. This method is useful if you prefer using a laptop or want more control over the extender’s settings.
To use the browser method, connect your phone, tablet or computer to the extender’s default WiFi network, or connect by Ethernet if your model supports it. Open a browser and visit tplinkrepeater.net or the extender’s default IP address. Then follow the setup wizard to choose your main WiFi network and enter the correct password.
TP-Link Extender Login Tips
If TP-Link extender login does not open, make sure your device is connected to the extender’s WiFi network, not your main router WiFi. Also check that you typed the address into the browser address bar, not a search engine box.
If the login page still does not appear, try another browser, restart the extender, or reset it and begin again.
Choosing Your Extended Network SSID
During browser setup, you may be able to copy your router’s WiFi name or create a different extended network SSID. A separate name can make it easier to know when you are connected to the extender. The same name can feel simpler, especially if your devices move around the home.
If you use a TP-Link mesh extender with compatible EasyMesh or OneMesh features, your extender may work more smoothly with a shared network name.
TP link Extender Setup with Ethernet
TP-Link extender setup with Ethernet usually means using Access Point Mode. In this setup, the extender connects to your router with an Ethernet cable and then broadcasts WiFi from that wired connection.
This can be better than normal wireless extender mode because the extender does not rely on a wireless backhaul to the router. If you have Ethernet cabling, or can use a wired connection in another room, access point mode can provide a more stable connection.
When Ethernet Access Point Mode Makes Sense
Ethernet access point mode is useful if your home has thick walls, long distances, heavy interference or a room where wireless repeating does not work well. It is also useful for garden rooms, offices, loft conversions and gaming spaces where stable WiFi matters.
Only TP-Link range extenders with an Ethernet port and Access Point Mode support can use this setup. If your model does not support it, consider wired WiFi extension kits or mesh network systems.
How Ethernet Setup Works
Switch the extender to Access Point Mode through the Tether app or web management page, then connect the extender to your router using an Ethernet cable. After that, set the WiFi name and password for the extender’s wireless network.
This is a good option if you want stronger WiFi in a room where a wired connection is already available.
How to Change WiFi on TP-Link Extender
You may need to change WiFi on TP-Link extender if you replace your router, change your WiFi password, rename your network or move the extender to another home network.
The easiest method is usually the Tether app. Open the app, select the extender and go to the extended network or wireless settings. Depending on your model and app layout, you may be able to change the network name, password or host network.
If the extender cannot connect after a router change, resetting it and setting it up again is often the simplest fix.
When to Reset the Extender
Reset the extender if you have forgotten the admin password, changed your router details and cannot reconnect, or bought a used extender that still has old settings. Press and hold the reset button or pinhole reset until the lights flash, then set it up again from the beginning.
For router reset help, read: How to Reset a WiFi Router: Restart, Factory Reset & Reconnect.
Where Should You Place a TP-Link WiFi Extender?
Placement is one of the biggest reasons a setup succeeds or fails. A WiFi extender needs to receive a good signal from the router before it can extend that signal to another room.
Do not place the extender inside the dead zone itself. If the extender has weak signal, your devices may connect to it but still have slow or unstable internet.
The best position is usually halfway between the router and the weak area, but slightly closer to the router if the signal is poor. Use the signal strength LED to help find a better socket.
Good Placement Examples
| Home Problem | Better Extender Placement |
|---|---|
| Weak upstairs bedroom WiFi | Landing or hallway between router and bedroom |
| Slow garden room signal | Rear room or socket close to garden-facing wall |
| Poor office WiFi | Hallway outside the office, not the far corner of the office |
| Weak garage coverage | Socket between main house router and garage wall |
| Slow smart TV streaming | Plug socket with good router signal near the TV area |
For better results, keep the extender away from thick walls, large metal objects, microwaves, and enclosed cupboards.
Should a WiFi Extender Be on 2.4GHz or 5GHz?
Most dual-band WiFi extenders support both 2.4GHz and 5GHz bands. Each band has a different benefit.
2.4GHz usually travels further and handles walls better, but it is slower and more crowded. 5GHz is usually faster and better for streaming or gaming, but it has a shorter range.
For everyday browsing, smart devices and long-distance coverage, 2.4GHz can be useful. For faster speeds close to the extender, 5GHz is usually better.
If your extender supports dual-band WiFi, connect devices based on what they need. A smart speaker or printer may be fine on 2.4GHz. A laptop, console or streaming box may perform better on 5GHz.
TP-Link Mesh Extender vs Standard Range Extender
A standard TP-Link extender creates or repeats a WiFi network to improve coverage. A TP-Link mesh extender can work with compatible TP-Link mesh features such as EasyMesh or OneMesh, depending on the model and router.
The benefit of a mesh-style setup is smoother roaming. Instead of manually choosing between router WiFi and extender WiFi, compatible devices may move more easily around your home.
A mesh extender is a good choice if you already have a compatible TP-Link router. If you want wider whole-home coverage, mesh network systems may be better than a single extender.
TP-Link Extender Setup Not Working
If TP-Link extender setup not working is the problem, start with the basics. Make sure the extender is close to the router during setup, confirm the router WiFi password is correct and check that your phone or laptop is connected to the extender when using the setup page.
If the extender cannot find your router, move it closer and try again. If WPS fails, use the Tether app or browser method. If the app cannot detect the extender, connect to the extender’s default WiFi network and retry.
Common Setup Problems and Fixes
| Problem | Likely Cause | Fix |
|---|---|---|
| Extender cannot find router WiFi | Too far from router or hidden SSID | Move closer and check router settings |
| Wrong password error | Router WiFi password entered incorrectly | Forget the network and retype password carefully |
| Connected but no internet | Extender linked to router but router has no internet or settings issue | Check router internet first, then restart extender |
| WPS fails | WPS timing, router support or band issue | Try again near the router or use app/browser setup |
| Login page will not open | Device is connected to router instead of extender | Connect to extender network and open tplinkrepeater.net |
| Weak speed after setup | Extender placed too far away | Move it closer to the router |
Most setup problems come from weak router signal, wrong WiFi passwords, or poor extender placement.
Why Does My WiFi Extender Say Connected but There Is No WiFi?
If the extender says connected but there is no internet, check your main router first. If the router itself has no internet, the extender cannot fix that.
If the router works, restart the extender and reconnect your device. Then check whether your device is connected to the correct extended network. If the extender was moved too far from the router, it may show a connection but still have weak performance.
Also check whether the extender copied your router’s SSID. If both names are the same, your phone or laptop may be connected to the weaker signal without you realising.
Best TP-Link Extender Options to Consider
The best TP-Link extender depends on your router, speed needs and home layout. For general dead zones, a dual-band extender may be enough. For WiFi 6 homes, a newer WiFi 6 extender can offer better performance with compatible devices.
| Product | Best For | Why It Makes Sense |
|---|---|---|
| High-speed AX3000 extender | Faster WiFi 6 coverage | Strong option for users who want a higher-speed range extender |
| Dual-band WiFi 6 booster | Everyday WiFi 6 extension | Good for improving coverage with newer routers and devices |
| TP-Link AC1750 coverage upgrade | Reliable dual-band coverage | Useful for homes that want a proven AC dual-band extender |
If your router is very old, upgrading the router may give better results than adding an extender. You can compare wireless router options if your current router struggles across the whole home.
WiFi Extender, Mesh WiFi or Powerline: Which Is Better?
A WiFi extender is best for fixing one or two weak areas. It is usually affordable and easy to set up.
Mesh WiFi is better for larger homes or users who want seamless whole-home coverage. It is usually more expensive but can provide a smoother experience across multiple rooms.
Powerline adapters are useful when WiFi struggles through walls. They use your home’s electrical wiring to carry network data, which can help create a wired or wireless connection in another room.
| Option | Best For | Main Benefit |
|---|---|---|
| WiFi extender | One or two dead zones | Affordable coverage boost |
| Mesh WiFi | Whole-home coverage | Smoother roaming and wider coverage |
| Powerline adapter | Thick walls or distant rooms | Uses wiring to extend network access |
| New router | Weak WiFi everywhere | Improves the main source of the network |
If your router is in a poor place, fix placement first. If your router is too old, upgrade the router. If only one area is weak, a TP-Link range extender can be the right solution.
Final Thoughts!
Before finishing your TP-Link WiFi extender setup, check that the extender is connected to the correct router network, the extended network is visible, your devices can browse online and the signal LED shows a good connection.
If speed is poor, move the extender closer to the router. If setup fails, reset the extender and use the Tether app or browser method. If WPS does not work, do not keep repeating it endlessly; the app or browser setup gives you more control.
Browse the TP-Link home networking range at Box.co.uk.
FAQs
How do I configure a TP-Link extender to my Wi-Fi?
You can configure a TP-Link extender using the Tether app, WPS button or browser setup page. The app is usually the easiest method. Plug the extender near your router, choose your main WiFi network, enter the WiFi password and follow the setup steps.
How do I reset my TP-Link extender to a new Wi-Fi?
Reset the extender using the reset button or pinhole, then set it up again with the new router network. You can also use the Tether app to change wireless settings on supported models.
Why won’t my TP-Link extender connect to my Wi-Fi?
The most common reasons are wrong WiFi password, weak router signal, extender placed too far away, router WPS issues or device compatibility settings. Move the extender closer to the router and use the app or browser method if WPS fails.
How to change Wi-Fi on TP-Link extender?
Open the Tether app, select the extender and go to the network name or extended network settings. From there, change the WiFi name, password or host network if your model supports it. If the extender cannot reconnect, reset it and set it up again.
Do you just plug in a WiFi extender and it works?
No, most WiFi extenders need setup first. You usually need to connect the extender to your router using the app, WPS or browser method. After setup, you can move it to a better location.
Should a WiFi extender be on 2.4 or 5GHz?
Use 2.4GHz for longer range and better wall penetration. Use 5GHz for faster speeds over shorter distances. If your extender is dual-band, use both where possible and connect each device to the band that suits it best.
Why does my WiFi extender say it’s connected but there’s no Wi-Fi?
This can happen if the main router has no internet, the extender is too far from the router, the WiFi password is wrong, or your device is connected to the wrong network. Restart the router and extender, check placement and reconnect using the correct network details.
You can pay with:
*PayPal Credit Representative Example: Assumed credit limit £1,200, Representative 23.9% APR (variable). Purchase rate 23.9% p.a (variable).Terms & Conditions apply.


PayPal Credit and PayPal Pay in 3 are trading names of PayPal UK Ltd, 5 Fleet Place, London, United Kingdom, EC4M 7RD. Terms and conditions apply. Credit subject to status, UK residents only, Five Tech LTD acts as a broker and offers finance from a restricted range of finance providers. PayPal Pay in 3 is not regulated by the Financial Conduct Authority. Pay in 3 eligibility is subject to status and approval. 18+. UK residents only. Pay in 3 is a form of credit. Check if affordable and how you will repay. May make other borrowing more difficult or expensive. See product terms for more details.
Copyright © 1996-2026 Fivetech LTD | Terms and Conditions
box.co.uk & Box are trading names of Five Tech Limited. Registered office: Box LTD, Unit 10 Woodford Trading Estate, Woodford Green IG8 8HF