
Menu


Get Sales Advice from Mon - Fri 9am - 5:00pm:
020 3337 8950LAST UPDATED: March 30, 2026
The Ultimate NAS Setup Guide: From Installation to Security Best Practices
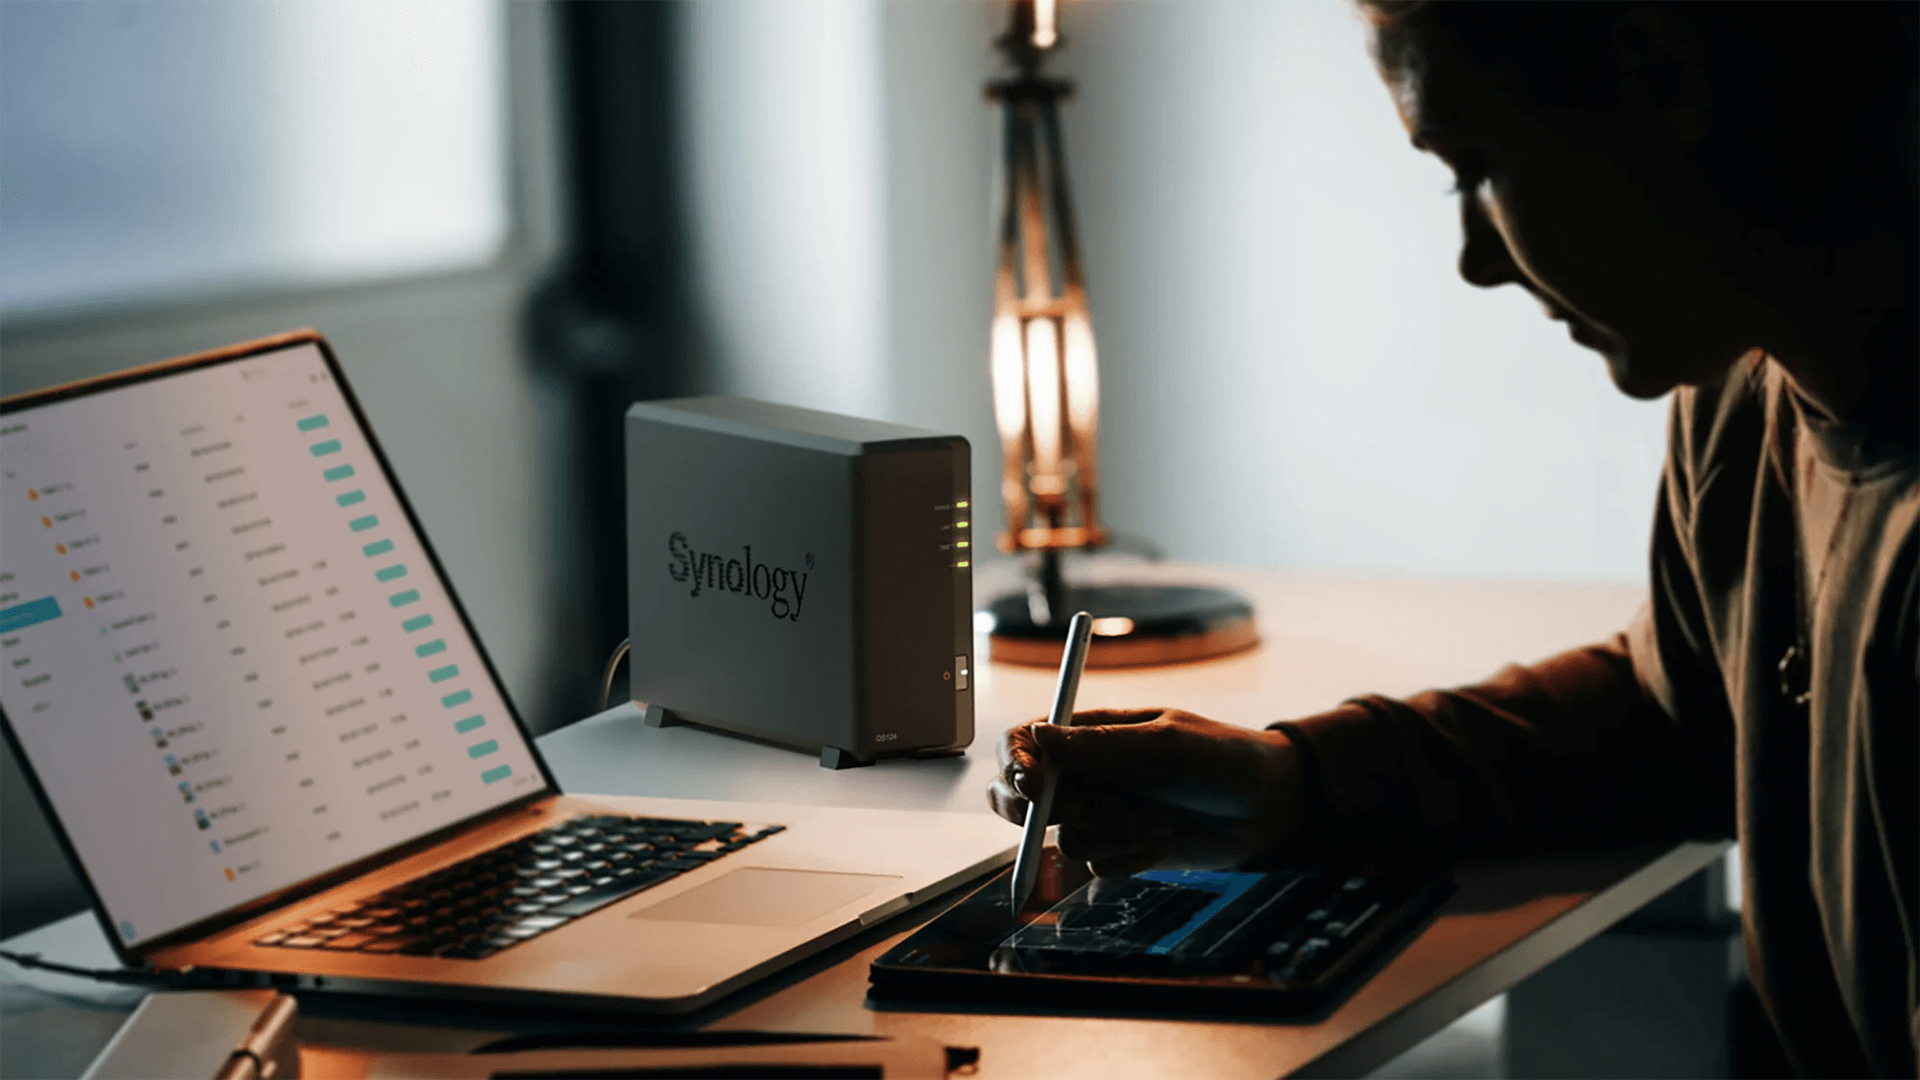
Imagine losing years of family photos, critical work documents, or your entire media library because your laptop failed or an external hard drive gave up without warning. For many, that nightmare is a reality and it’s exactly why Network-Attached Storage (NAS Storage ) is becoming a must-have in modern homes and small offices.
A NAS setup isn’t just about storage. Think of it as your personal cloud: a centralised hub where you can safely keep files, access them from anywhere, and even stream movies or music directly to your devices. Unlike public cloud solutions, you’re in complete control from capacity to security.
In this ultimate NAS setup guide, we’ll take you step by step through the entire journey. By the end, you’ll not only know how to setup a NAS at home, but also how to protect it with industry best practices ensuring your data stays accessible, secure, and future-ready.
How to Choose the Right NAS Hardware
Before you can start your NAS setup, you need the right hardware.
NAS Enclosure
The enclosure is the central unit that holds your drives and connects them to your network. effectively acting as your NAS server. For most home users or small families, a two-bay NAS is a practical and affordable choice, offering enough space for backups and everyday file sharing. If you’re someone with a growing media collection, or you want to set up a more advanced storage solution for work, a four-bay or larger enclosure makes sense. The extra bays give you flexibility for redundancy and future expansion without having to start over with new hardware.
Hard Drives
Just as important as the enclosure are the drives you put inside it. Unlike ordinary desktop drives, which aren’t built for continuous workloads, NAS-specific hard drives are designed to run 24/7. Popular options include Seagate IronWolf and WD Red, both engineered for durability and reliability in NAS environments. Before purchasing, it’s always a good idea to check your NAS manufacturer’s compatibility list, to work smoothly with every system.
Other Considerations
Beyond the basics, think about performance, budget, and long-term growth. A NAS with a stronger CPU and more RAM will be better suited if you plan to run apps, stream content, or handle multiple users at the same time. While it may be tempting to choose the cheapest option, balance cost with your actual needs and consider how your storage demands might grow. Investing in a system that can expand easily will save you from expensive upgrades down the line.
NAS for Beginners: Where to Start
If you are looking into NAS for beginners, the best place to start is with a simple two-bay model and NAS-specific hard drives. You do not need an enterprise-grade system to get useful results at home. For most first-time users, the goal is straightforward: create one reliable place for backups, shared files, and media. Starting with a beginner-friendly NAS also makes it easier to learn the basics of user permissions, RAID, and backup planning without making the process feel too technical.
Setting Up Your NAS at Home (Step-by-Step Installation)
Once you’ve chosen your hardware, it’s time to set up your NAS.
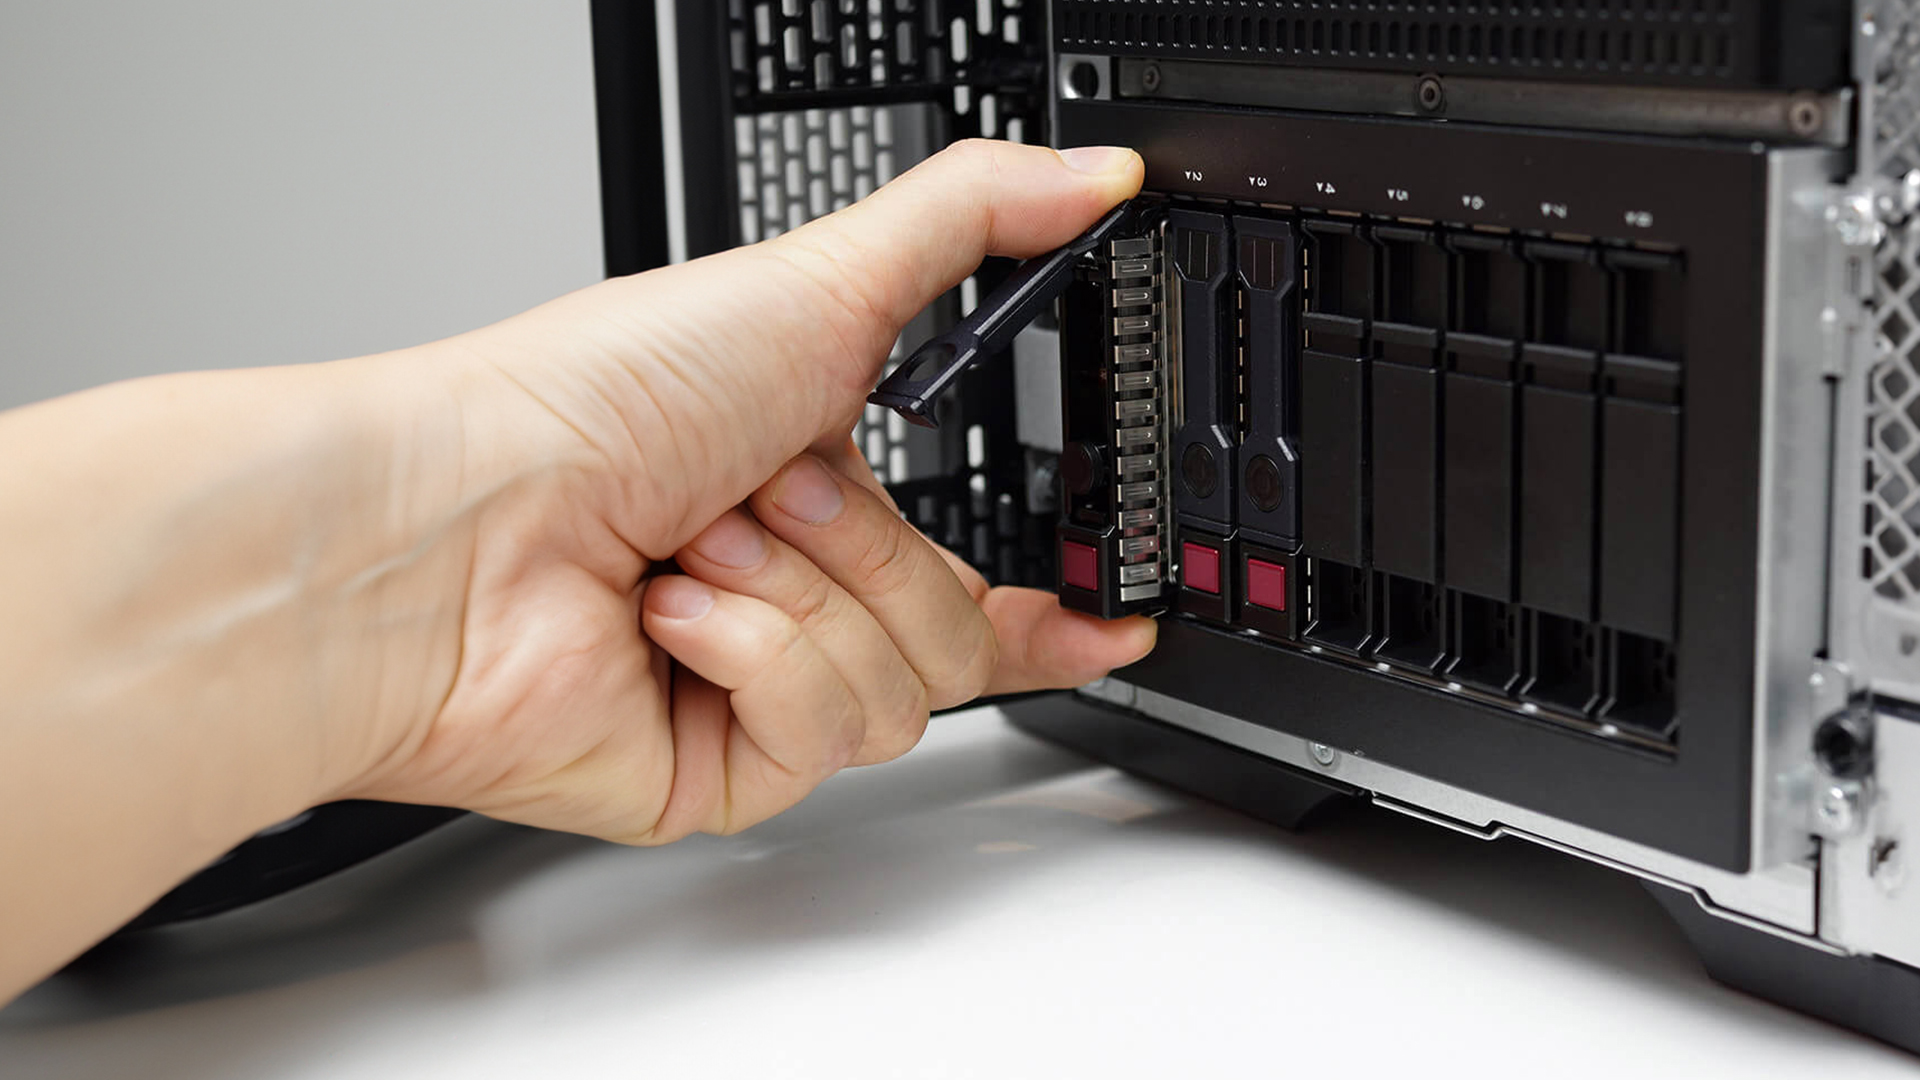
Assembling the Hardware
Start by installing your drives into the NAS enclosure. Many modern units are tool-free, making this process quick. Next, connect the device to your router or switch using an Ethernet cable, plug in the power supply, and turn it on.
Discovering Your NAS
On a computer connected to the same network, open a web browser and use your manufacturer’s discovery tool or their mobile app. This will locate your NAS on the network and take you to the setup page.
Installing the Operating System
Most NAS systems will prompt you to install their operating system, such as Synology’s DSM or QNAP’s QTS. Be aware that this process formats the drives, so make sure they don’t already contain important files.
Creating an Admin Account
During setup, you’ll be asked to create an administrator account. Avoid using “admin” as the username, and set a strong, unique password. This is your first step in keeping the NAS secure.
Configuring Storage on Your NAS
With the NAS up and running, the next step is configuring your storage.
Storage Pools and Volumes
Through the NAS interface (usually a “Storage Manager” app), you’ll set up a storage pool, which defines how the drives work together.
RAID Options
- RAID 1 mirrors data across two drives, providing redundancy if one fails.
- RAID 5 stripes data with parity across three or more drives, balancing storage and protection.
- RAID 6 adds extra redundancy, tolerating up to two drive failures.
Synology Hybrid RAID (SHR) offers flexibility and makes expanding storage easier, especially for beginners.
Shared Folders
Finally, create shared folders for organising your data, such as “Documents,” “Photos,” “Media,” or “Backups.” These can be managed separately and assigned different access permissions.
Managing Users and Permissions
If multiple people will be using your NAS, it’s important to create individual accounts. Each user can be given specific access rights for example, read-only access to photos but full access to documents. This not only protects sensitive data but also prevents accidental changes or deletions.
Backing Up Your Data
Even with RAID, a NAS is not a complete backup by itself. If the whole device fails, you could still lose everything. That’s why it’s essential to build a backup strategy.
The 3-2-1 Rule
A simple guideline to follow is the 3-2-1 rule: keep three copies of your data, on two different types of media, with one copy stored off-site.
Backup Options
- Local backup to an external hard drive or another NAS.
- Cloud backup to services like Amazon S3, Dropbox, or Backblaze B2.
- Automatic snapshots, which save restore points in case files are deleted or corrupted.
Learn more about the process in our guide to backing up a Synology NAS.
Expanding Your NAS Beyond Storage
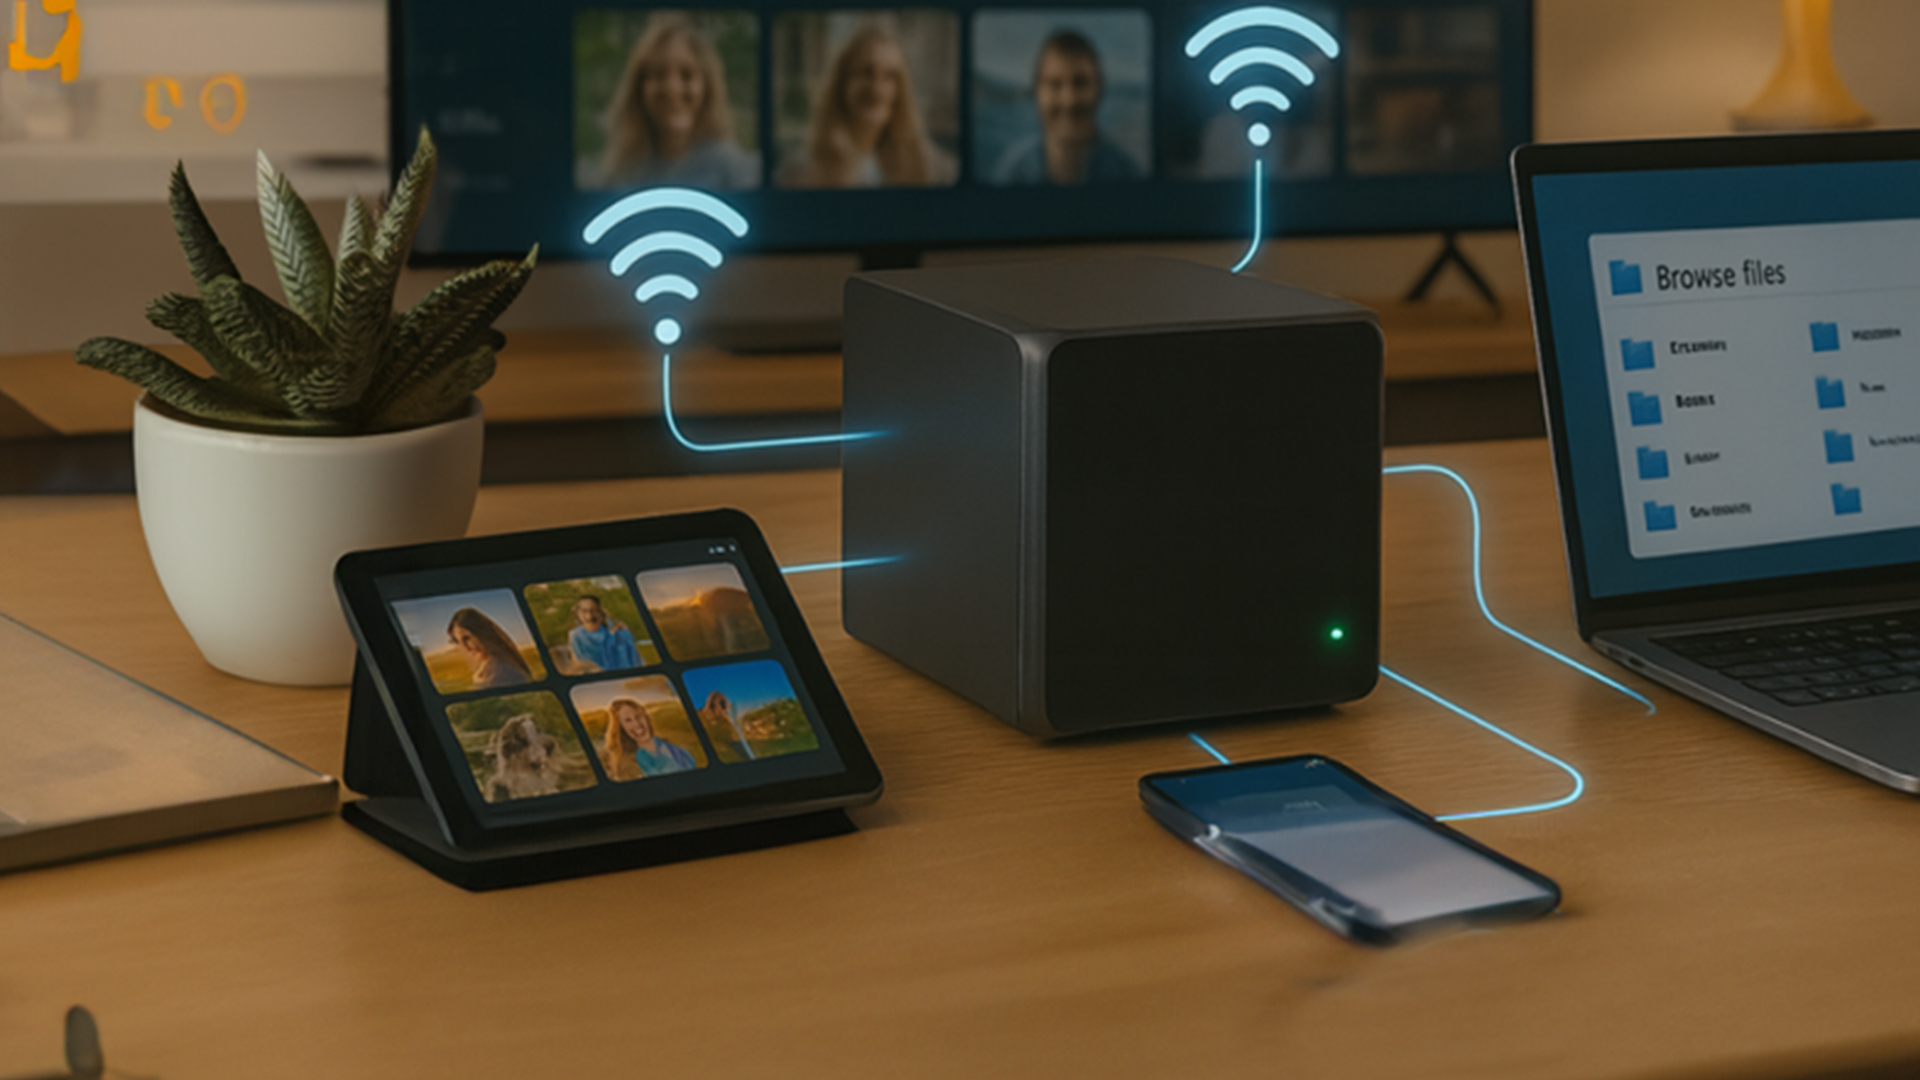
Turning Your NAS into a Media Hub
Once your NAS is running, one of the most popular ways to use it is as a media server. By installing apps like Plex, Emby, or the built-in media stations, you can stream movies, music, and TV shows directly to your smart TVs, tablets, or consoles. This makes it easy to access your entire library from any screen in your home without juggling external drives.
Accessing Your NAS Remotely
One of the biggest advantages of modern NAS remote access is the ability to securely reach your files when you are away from home, without depending entirely on third-party cloud services.A NAS doesn’t just work inside your home. With remote access enabled, you can securely connect to your files from anywhere in the world. This is particularly useful for travelers or remote workers who need documents on the go. While most manufacturers offer secure connection tools, using a VPN provides even stronger protection by encrypting all traffic between you and your NAS.
Collaboration and Productivity
Beyond entertainment, a NAS can also serve as a lightweight collaboration platform. Many devices now include apps for calendars, notes, or document sharing. Families often use these features to share photos and schedules, while small businesses use them for simple project collaboration. In short, your NAS can evolve from a storage device into a versatile hub for both work and play.
Securing Your NAS at Home (Best Practices You Shouldn’t Skip)
Start with Account Security
The first step in securing a NAS is addressing default credentials. The standard “admin” account is well known and frequently targeted, so it’s wise to disable it altogether. Create a new administrator profile with a unique username and a strong password. Adding two-factor authentication is highly recommended, as it provides an extra barrier to entry by requiring a code from your phone in addition to your password.
Protecting Remote Access
Remote access is one of the most attractive features of a NAS, but it also creates the greatest risks if handled carelessly. Avoid exposing your NAS directly to the internet through open ports. Instead, use manufacturer tools like Synology QuickConnect or set up a VPN connection to ensure all traffic is encrypted and secure.
Strengthening System Defenses
A few additional steps will make your NAS much harder to attack. Enabling the built-in firewall helps filter unwanted connections, while auto-blocking can temporarily ban IP addresses that make repeated failed login attempts. Keeping your firmware updated ensures that any newly discovered vulnerabilities are patched quickly. Finally, for sensitive information, enabling folder-level encryption or using self-encrypting drives adds an extra layer of protection even if the physical device is stolen.
Troubleshooting Common NAS Setup Issues at Home
Even with a smooth setup process, it’s common to run into a few hiccups. The good news is that most problems are easy to solve once you know what to look for.
1- When Your NAS Doesn’t Appear on the Network
One of the most frequent issues is a NAS that simply doesn’t show up after being powered on. In this case, start with the basics: check that the Ethernet cable is securely connected, the router is functioning, and the NAS is receiving power. If everything looks fine but the NAS is still invisible, try using your manufacturer’s discovery tool or app to locate it.
2- When a Drive Isn’t Recognised
Sometimes, your NAS may fail to detect one of the installed drives. This usually comes down to compatibility or installation. First, check your NAS manufacturer’s compatibility list to ensure the drive model is officially supported. If it is, try removing the drive and reseating it to make sure it’s properly connected inside the bay.
3- When You Encounter Permission Errors
If users can’t access certain folders or files, the issue often lies with permissions. Open your NAS management interface and review the user accounts and group settings. Double-check that the affected users have been granted correct read/write access to the folders in question. Adjusting permissions usually resolves these problems immediately.
Considering Cloud Alternatives
A NAS is powerful, but it isn’t the only storage option. Cloud services like Google Drive or OneDrive offer simplicity, but they come with ongoing subscription costs and less control over your data.
Many people find the best solution is a hybrid model: use a NAS for daily storage and control, while syncing important backups to the cloud for disaster protection.
Conclusion
By now, you’ve learned how to choose the right hardware, set up and configure your system, use RAID and backups for protection, and secure it against threats. Whether you’re starting small with a simple home setup or building something more advanced for work, a NAS offers the control and reliability that external drives and cloud services alone can’t provide.
When you’re ready to buy the right hardware, check out the latest NAS deals at Box.co.uk. Your data is valuable; give it a safe, scalable home with NAS.
FAQs - The Ultimate NAS Setup Guide : From Installation to Security Best Practices
-
What is a NAS?
A NAS is a Network-Attached Storage device that connects to your network and lets multiple devices store, access, and share files from one central location.
-
How do I set up a NAS at home?
To set up a NAS at home, you usually install the drives, connect the NAS to your router, power it on, install the operating system, and then configure storage, users, and backups.
-
Is NAS good for beginners?
Yes, many systems are ideal as NAS for beginners, especially two-bay models with simple setup software and built-in management tools.
-
What is the best NAS for home use?
The best NAS for home use depends on your needs, but for most people a two-bay or four-bay NAS with reliable NAS hard drives is the most practical choice.
-
Can I access my NAS remotely?
Yes, NAS remote access lets you securely reach your files from outside your home network, usually through manufacturer apps or a VPN.
-
Can I build my own NAS?
Yes, if you want more flexibility, you can learn how to build a NAS using compatible hardware and NAS software, though prebuilt units are often easier for most users.
You can pay with:
*PayPal Credit Representative Example: Assumed credit limit £1,200, Representative 23.9% APR (variable). Purchase rate 23.9% p.a (variable).Terms & Conditions apply.

PayPal Credit and PayPal Pay in 3 are trading names of PayPal UK Ltd, 5 Fleet Place, London, United Kingdom, EC4M 7RD. Terms and conditions apply. Credit subject to status, UK residents only, Five Tech LTD acts as a broker and offers finance from a restricted range of finance providers. PayPal Pay in 3 is not regulated by the Financial Conduct Authority. Pay in 3 eligibility is subject to status and approval. 18+. UK residents only. Pay in 3 is a form of credit. Check if affordable and how you will repay. May make other borrowing more difficult or expensive. See product terms for more details.
Copyright © 1996-2026 Fivetech LTD | Terms and Conditions
box.co.uk & Box are trading names of Five Tech Limited. Registered office: Box LTD, Unit 10 Woodford Trading Estate, Woodford Green IG8 8HF